

Summer 2017 is an outline, published from @davewiner’s littleoutliner 2, stored and published on my Raspberry PI. nodestorage has a lot going on.
Tag: Raspberry pi
@c I’ve hooked up your indieweb OPML to my copy of River5 (on a raspberry pi so might be flaky). I hope as my opml refers to yours it will update automatically…
Another Years Blogging

In 2015 my blogging was dominated by Glow Blogs and WordPress. This year the picture was a little different. Here is a Wordle of my 2016 titles.

WordPress stays near the top and Glow Blogs featured quite often but not in the titles of the post. 23 Things, Open (including OER16) and Edutalk stand out.
Most of my time in 2015 was taken up by Glow Blogs, 2016 brought big changes, before I’d got used to being back in my substantive post, supporting ICT in North Lanarkshire, I found myself being redeployed into a class teachers role. I’ve not blogged much about that, sticking to technology: some in the classroom, some more general.
The post Questioning Glow got most reaction.
A fair number of posts are under the 23 things banner and I’ve become even more interested in thinking about the the way that using software affects us. I think the questions I talked about at Always on (them): Digital and Social Media use in Education #DigitalUWS are important.
Apart from my Radio Edutalk contributions, which slacked a bit this year I made several microcasts here. There are just short, unedited podcasts, in my case posted from my phone. I doubt that many were listening but I enjoy the format.
My most popular post was An interesting mix: Chromebook and Raspberry pi. This was a passing interest as I no longer have access to a chromebook. I did blog a fair bit about my Pi(s) which continue to interest me.
As I prepare for think about my 13th year blogging, this blog continues to meander through topics that take my fancy, often it feels like me alone. I often read about how to make your blog more popular, and continue to break most of that advice.
Featured image: A quick gif made for #tdc1818 The End is Near! Make a GIF | The (new) Daily Create, I’ve not created as much as I would have liked for the daily create, but I still recommend it as a great exercise for playing with digital and your imagination.
ZoneEdit Dynamic DNS Fix
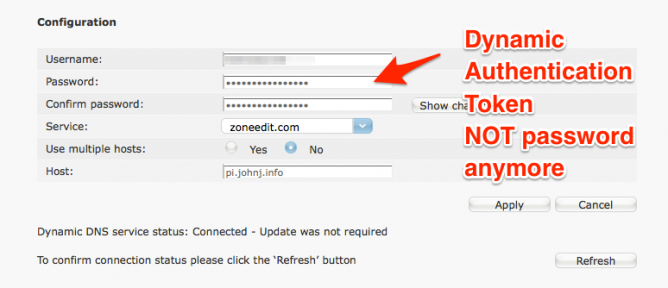
Note to self. I’ve a few wee things 1, recondite projects if you like, that run off a Raspberry pi.
The Pi is at pi.johnj.info I use Zone Edit and dynamic dns to keep the subdomain pointing at my home network when its external IP address changes.
This stopped working. It looks like
A Dynamic Authentication Token is required in order to use our Dynamic DNS services. The tokens are generated on a per domain basis.
This is used in the place of my zoneedit password which used to work.
Fix found Solved: Re: BT Home Hub 5 Dynamic DNS – BTCare Community Forums via google.
Pi Notes
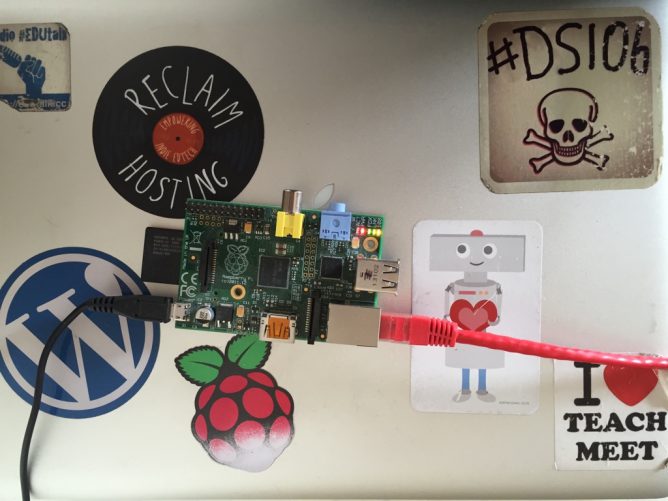
After 38946 gifs and 24660 jpgs my Raspberry pi has stopped taking photos.
I am not sure why but it stopped recognising the camera module. I’ve decided to give that a rest while keeping the pi going as a server for other things. I’ve also moved it from the windowsill to a better position on my local network.
It is still running my River5 which I wrote about Raspberry River and a basic web-server: john’s pi server.
I’ve now added Dave Winer’s blogging software 1999.io: johnjohnston which has been running for nearly a week. Setup notes: 1999 set up on my pi
This has given me a chance to play (a little) with all the pieces, node, git, the pi and a new blogging system.
1999.io is quite opinionated software and has some differences from systems I am more familiar with. I’ve written some notes 9 Thoughts on 1999.io (archive.org link) & Comments, Rivers and Glossaries (Archive.org). It is helping me think a bit about how software affects us.
I’ve also bought a Pi NoIR camera which I’ve used on my other pi, grabbing photos every minute of the bin outside our window in the hope of catching some foxes. It is not posting to the web, but over the network to my mac. My poor craft skills mean it was balanced on some cardboard and slowly slipped through the night. No foxes were photographed on the first try. I’ll be getting a better mount and trying again.
I’d like that, second, pi to be portable with a few buttons to do different things, start timelapse, grab and post a gif, etc. I’ll need to learn a bit more.
A micro look at microbit
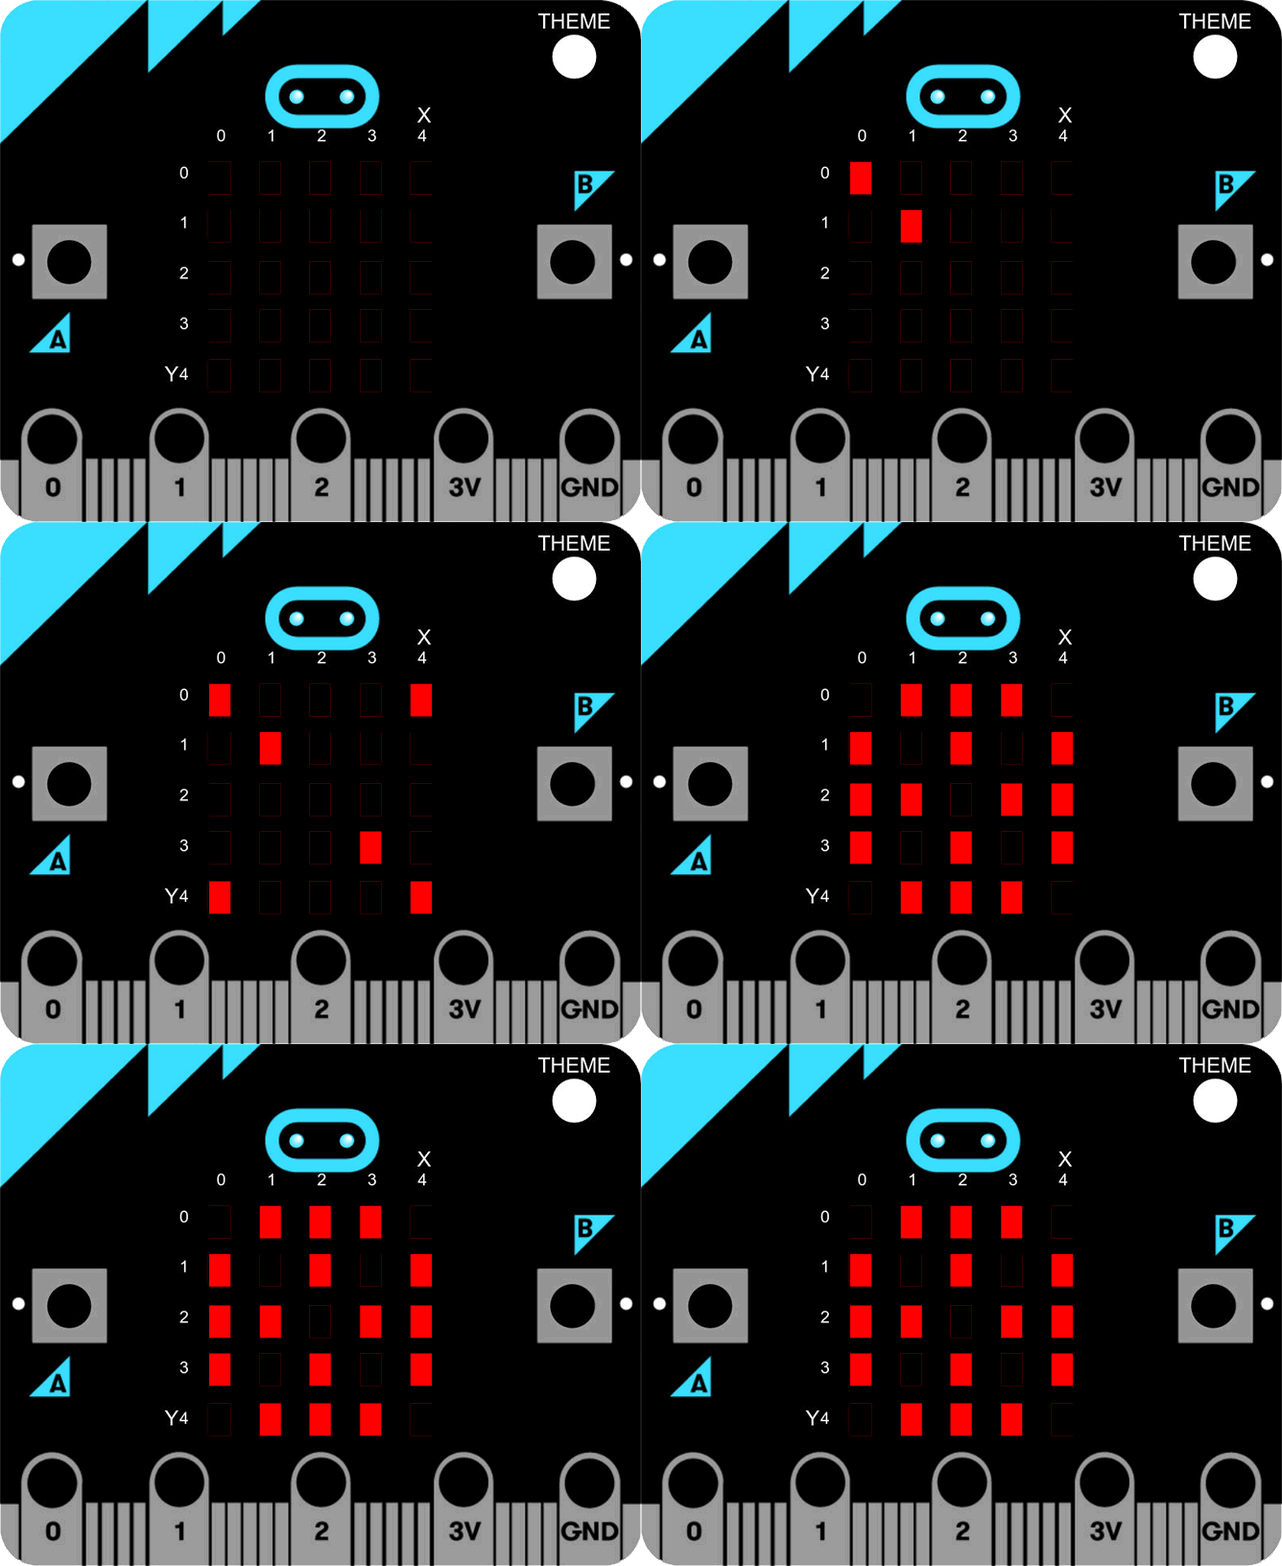
A lot of micro:bits from the BBC arrived in the centre where I work, ready to be distributed to North Lanarkshire schools. I’ve taken the opportunity to break one out and have a wee play.
The devices are aimed at secondary so outside my wheelhouse, but I could not resist a wee play.
The microbic works by creating code for it on a computer and flashing it to the device via USB (you can also use bluetooth from a mobile app). There are several different ways to create code. You can do in in the browser with severe different editors, Code Kingdom’s JavaScript, The Microsoft Block Editor, Microsoft Touch Develop or Python. I’ve had a quick try of most of these. You can also use the MU python editor that runs on Windows, OSX, Linux and Raspberry Pi.
Although I don’t really know any python I’ve found that the MU editor the most reliable. The browser based ones have been occasionally flaky, causing me to switch browsers a few times. I also like to have anything stored locally (the browser editor stores in local storage, but that means you need to either get an account sorted out or use the same browser on the same box all the time.)
There are already a nice set of resource building up, I found the Raspberry Pi and micro:bit Playground both useful.
When I was looking at the Tilty Game from the micro:bit Playground I though I might be able to make a ‘paint’ editor. This is the result. (click to start the movie, I’ve just found you can use a gif as a poster frame)
The code allows you to draw on the microbes LEDs, the left and right buttons move the cursor in a horizontal and vertical directions and a double press toggle the lights.
And here is the code, I used hilite.me to make it look nicer. Not exactly rocket science. I expect there are better ways of doing this.
from microbit import *

Matrix = [[0 for x in range(5)] for x in range(5)]

#set initial position
x = 2
y = 2

def printmatrix():
    for x in range(5):
        for y in range(5):
            if (Matrix[x][y]):
                display.set_pixel(x, y, 6)
            else:
                display.set_pixel(x, y, 0)
    return;

#show cursor
display.set_pixel(x, y, 9)

while True:
    if button_a.is_pressed() and button_b.is_pressed():
        if (Matrix[x][y]==0):
            Matrix[x][y]=1
        else:
            Matrix[x][y]=0
        printmatrix()
        sleep(1000)
        continue

    elif button_a.is_pressed():
        x = x + 1
        if (x>4):
            x=0
        printmatrix()
        display.set_pixel(x, y, 9)
    elif button_b.is_pressed():
        y = y + 1
        if (y>4):
            y=0
        printmatrix()
        display.set_pixel(x, y, 9)
    sleep(200)
The idea is we store a matrix of which lights are on. The ones turned on are shown by the printmatrix function. They are displayed at a brightness of 6 to distinguish them from the cursor, which is full beam.
The cursor is moved with the left and right buttons. it loops (I wonder if it would be better to bounce it?) Clicking the left and right buttons toggles the light on or of in the matrix. The reset button clears the screen.
I had quite a lot of fun getting this to work, the formatting of the script caught me out a few times. I wonder, if I was smarter, could I take the same approach and make a noughts and crosses app?
- Some more resources
BBC micro:bit and the iPad by Steve Bunce on iBooks looks like an interesting resource. - A search of gists at git hub finds some example python code: Search · microbit
- microbit – YouTube Search
Featured image on this post a gif made from BBC micro:bit by Gareth Halfacree used under a Creative Commons — Attribution-ShareAlike 2.0 Generic — CC BY-SA 2.0 License.
Eloquent instructions
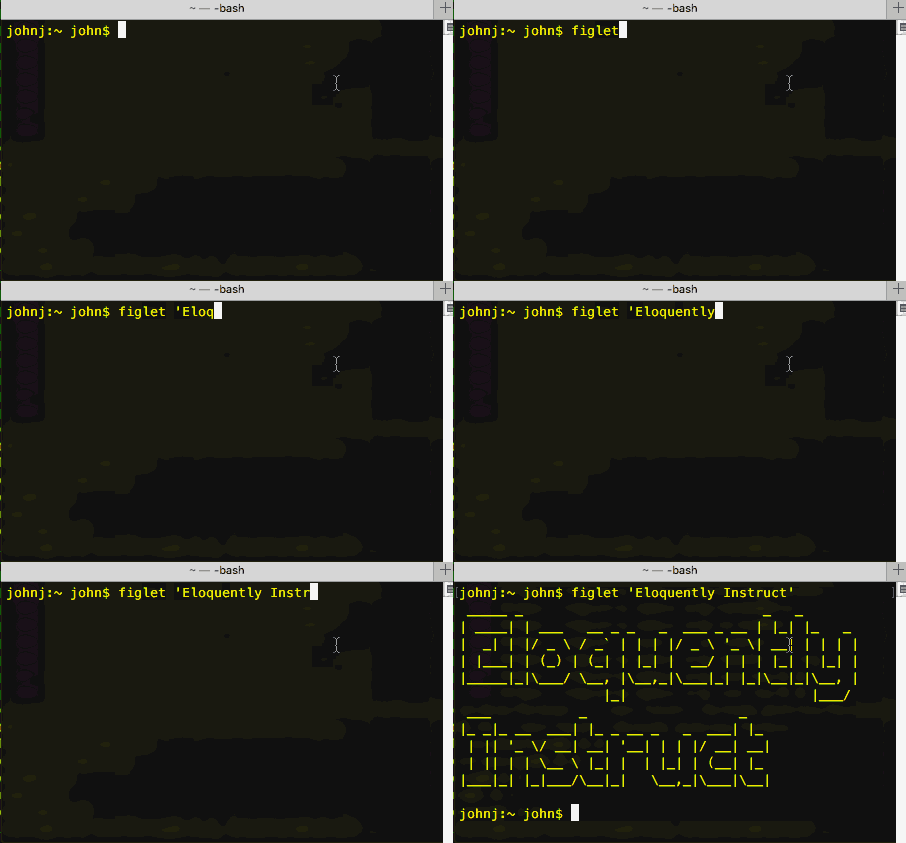
‘Points & grunt’ or ‘eloquently instruct’
A couple of weeks ago Oliver Quinlan was a guest on Radio EDUtalk. The thing that stuck in my mind the most from the episode was this idea. Oliver has now written a bit more about it on his blog.
The command prompt allows you to use the power of language to interact with a computer. In comparison, clicking around in a desktop environment is akin to pointing and grunting. Getting people to do things by pointing and grunting is OK at first, but as children we naturally put in the effort to learn how to move beyond this to get things done quicker, more precisely and more elegantly.
‘Points & grunt’ or ‘eloquently instruct’ – Language & computers – Oliver Quinlan
I’ve often struggled to explain, even to myself, why I enjoy using the terminal application. This is the best elevator pitch I’ve heard.
I am no command line expert, but I end up using it for small things or interesting experiments most days. I guess my first exposure was on the introduction of Mac OS X in 2001. Af first it was something to use occasionally for system settings that could not be done in other ways. Slowly over the last 15 (eek!) years I’ve used it a bit more and slowly learned. It is not something you need to be an expert to get use from. For example Batch Processing MP3 files is probably not eloquent but it saved me a huge amount of time.
For most of the time I’ve been using the terminal I though of it as a somewhat old fashioned process. It is now fairly obvious that it will be in use for some time yet. This week the news that Microsoft is bringing the Bash shell to Windows 10 brought that home.
It is worth mentioning that there is an amazing amount of information on using the command line on the web. I can’t remember when a search has failed to help me learn.
Elsewhere Oliver recommended Conquer the Command Line as a good resource to getting started. From the MagPi Magazine available as a free PDF.
Featured image: my own, grabbed with LICEcap.
An interesting mix: Chromebook and Raspberry pi
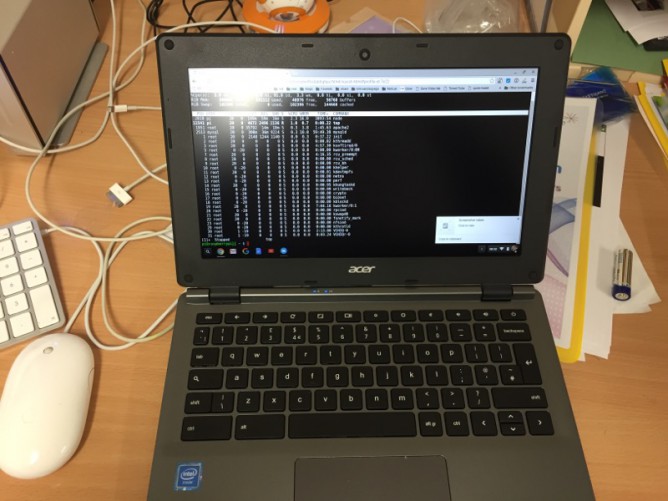
Last week I spent some time with a chromebook. It was the cheapest one on the Scottish procurement. I was surprised how responsive it was, quick to start up, reasonable trackpad and OK keyboard.
It seemed to be that if you were mostly using the web or if your needs were met by web browser applications that it would do quite a lot. I was reminded of Clarence Fisher talking about using a raspberry pi and finding it could meet a lot of his needs.
Personally I’ll stick to my MacBook for as long as I can afford to. I’ve got a lot of muscle memory, customisation and spent a fair bit on applications over the years. Along with the long life of Apple computers I don’t think I pay too much for what I get. I was interested in exploring how to do some things with a chromebook and the raspberry pi connection got me googling.
It seems you can connect to a raspberry pi in the same way I do from Mac and iOS devices, via ssh.
According to various sites and posts I found there is a built in terminal in the chrome browser that supports ssh.
So I hit control-alt-t to open the wheel and typed in ssh username@pi.johnj.info
At that point I got a message saying that the built in tool was no longer there and I needed to install an app. This I did.
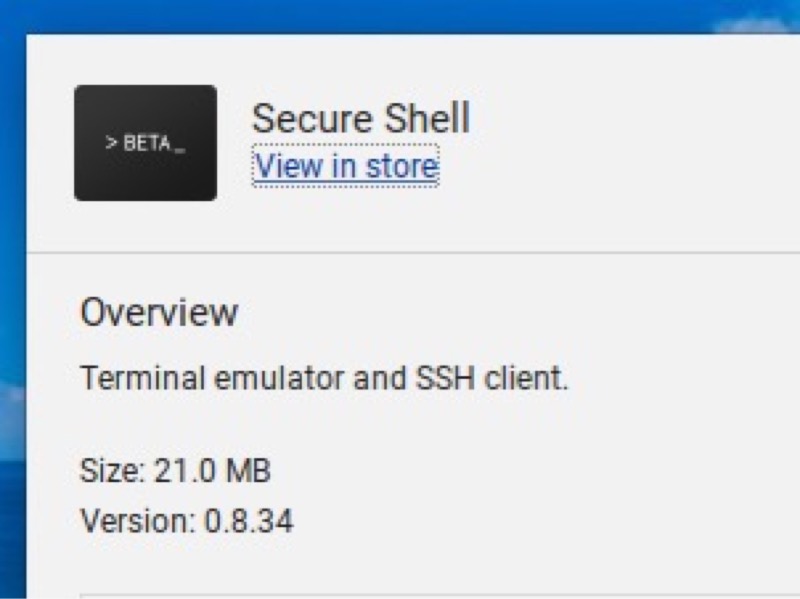
I’ve now got the secure shell app. This lets me easily connect to and work/play on the pi in the same way I already do from Mac or iOS.
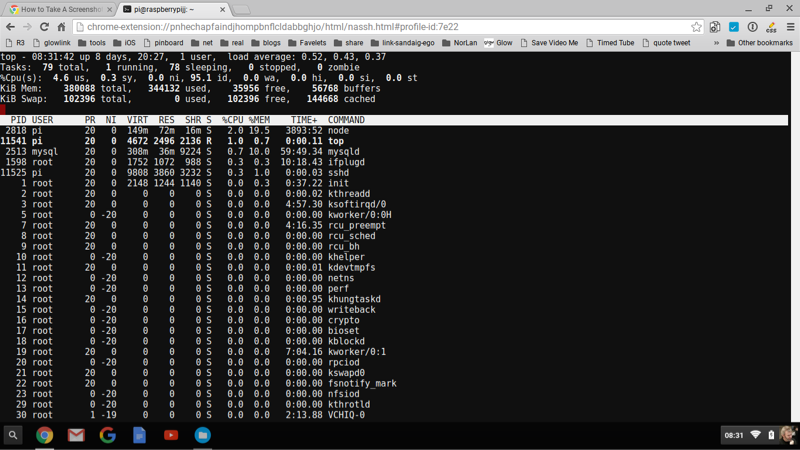
For a dabbler like myself this is a pretty nice setup. Especially at less than £200.
I am just kicking tyres on the pi without any depth of knowledge but it already is running:
- john’s pi server a standard we server.
- River5 Dave Winer’s RSS reader using node.
- some Python that takes photos and makes gifs of the sky and posts them to tumblr: Sky Pi and Broomhill Sky
Quite a lot for such a wee box and there are tons of other things I could add given a bit of reading.
I think this points to the possibilitys of two small cheap devices adding value to each other and opening up some possibilities.
Raspberry River

I’ve been following the work of Dave Winer for a while now. His pioneering work with RSS, blogging and podcasting is central to my use of the web. I’ve even dipped my toes into and blogged about Fargo his outliner tool a few times, I tried myword.io a couple too.
The product I am most interested in was the Rivers project. This is a take on RSS readers, where you view collections of RSS in a stream, rather than a folder structure.
In the past I set up River3 and River4. These products really need a server that goes a bit further than web hosting. I had some working locally but this was not ideal. The instructions for using the previous version of River tended to involve Amazon Web Services and a server elsewhere.
River5
River5 changes all of this, it is designed to keep everything in the same place, one server. The only difficulty is that it requires a server running node.
This is pretty simple to set up locally on a mac. You need to use the terminal. You install node. Then you follow the instructions on the River5 github page and you are away.
What is very nice indeed is that you can add feeds you want to read in several different formats opml (handy for export from other RSS readers), json and plain text. There is a set of example feeds provided that will let you see everything is working.
I wanted to be able to have the rivers running all the time and be accessible from other computers. For that I need a server that I could install and run node on. Turns out I have one, john’s pi server. That sits on my window sill mostly taking pictures of the sky. It was running a twitter bot but that is broken at the moment.
Setting up River5 on a Raspberry Pi
I do most things on my pi via the terminal on a mac or iPad, suing ssh to logon.
I had installed node on the pi a while back.
Download the latest:
wget http://node-arm.herokuapp.com/node_latest_armhf.deb
then install:
sudo dpkg -i node_latest_armhf.deb
I seem to have done that a while back when I was failing to get something else up and running.
All I need to do to get River5 installed was to download the files from github and upload them to the pi with scp.
I then unzipped them went into the folder and ran these two commands:
npm install
node river5.js
This set everything up, a plie of stuff streams by in the terminal and all looked ok. (I had problems the first time I tried but an update came out immediately that fixed things for Linux servers. I got a very quick response on the River5 Forum).
My Pi already has a sub domain so I visited http://pi.johnj.info:1337 and could see the rivers flowing with Dave’s Feeds.
I’ve now removed the original ones and replace them with lists of feeds of my own.
Rivers Forever
After that I went to bed, next morning I tried the link and it was down. The problem is I need to keep the application up and running even when I am not logged onto the server. I recalled reading on Dave’s blog about Forever. As usual google found the instructions to install and use: Keep a node.js server up with Forever.
This is pretty simple you install Forever with:
sudo npm install forever
npm is a package manager for JavaScript so it installs stuff.
After it is installed we can start up the river5 with:
forever start river5.js and it keeps going.
Mine has been running for a few days now on the pi without any problems.I’ve been enjoying an alternative view of some of my RSS feeds. My next steps are probably to move things around a bit so that I don’t relay on the built in node server, and can pull the river json over to here.
I am pretty amazed by the ease of doing this. The software has been made to be very easy to install and the Raspberry Pi turns out to be a very capable wee box.
Title: Life in Links: BETT 2016

- I spend a couple of days at BETT this year and saw some interesting things, here are my bookmarks for johnjohnston tagged ‘bett2016’Of course I missed far too much stuff and too many people.
- I did meet Oliver Quinlan and got a couple of Raspberry Pi tips. Seems it should be possible to set up a pi to scan for several WiFi networks and auto join a suitable one. You can also run a pi from a usb drive as opposed to an SD card (as I understand it you still need to start from the SD but point to a system on the USB). There was another tip from Oliver that is just out of memory at the moment hovering round the tip of my tongue. I hope Oliver will be a guest on Radio Edutalk this year.
- I saw the pi-topCEED and ordered one. there are 2 pi-tops. One a laptop and the other a ‘desktop’. I was going to buy another pi and always struggle for a screen to attach so this looked like an interesting idea. They were pretty flimsy but I think I’d mostly use them to set up a pi which then I would shell onto from an iPad or computer.
- Alan O’Donohoe was running a pretty wacky stand for Exa Education I watched his highly mobile presentation teaching 2 + 2 in python. An extremely rigorous approach to teaching hidden in an entertainment sandwich. I learned a lot more than the answer (4 mostly).
- I had a quick chat to Leon on the Exa stall too, as usual he is involved in fascinating stuff.
- One of the big things everyone was talking about was Microsoft acquiring MinecraftEdu. Microsoft are pretty upbeat about this. Other reports mention some possible problems. My immediate thoughts were that this might become part of Glow since a fair slice of Glow is made up of O365.
- Today I read a few posts by Dean Groom, pushing back against this minecraft development:
As I said yesterday, I believe at this point, this is nothing more than another attempt by a technology giant to use ‘teacher frontage’ to mask it’s commercial agenda and make money. It’s also disgusting to think that the sell out of Minecraft Edu, which has used the IP and social capital of the broader community as well as teachers is being reaped in this way — and brazenly makes several claims and thin associations about ‘game changing’ learning, without any evidence whatsoever.
from: Buy me: I’m great for learning | Playable and associated posts (Put down the bat Dean sums it up). I’ve not got any real experience of Minecraft, but have seen nice stuff carried out in the classroom and talked with Derek Robertson about MinecraftOTW on Radio EDUtalk. It will be interesting to see which way this goes. Some interesting, robust commentary on the Sorry, kids. Microsoft is turning Minecraft into an ‘educational tool’ • The Register Forums
- I think Do it Kits | Make it, learn it, do it. was my favourite thing at BETT, the site is not really doing much of a job at describing the kit yet, but on on display used a Raspberry Pi to monitor a small mushroom farm.
- I did think of staying an extra day to go to TeachMeet at BETT, but had been put off by, expense and the reports I’d read about some folk skipping the draw to present at previous editions. This tweet suggests things have improved:
-
.@ewanmcintosh on the Rules of the first #teachmeets – no PowerPoint, no selling, current classroom practice, 7 minutes, #tmbett16
— Miles Berry (@mberry) January 22, 2016
Hopefully these were followed on the night.
Bonus link the CC0 image at the top of this post is from FindA.Photo which looks like a useful service that searches across a few other sites. Fré Sonneveld
viaUnsplash