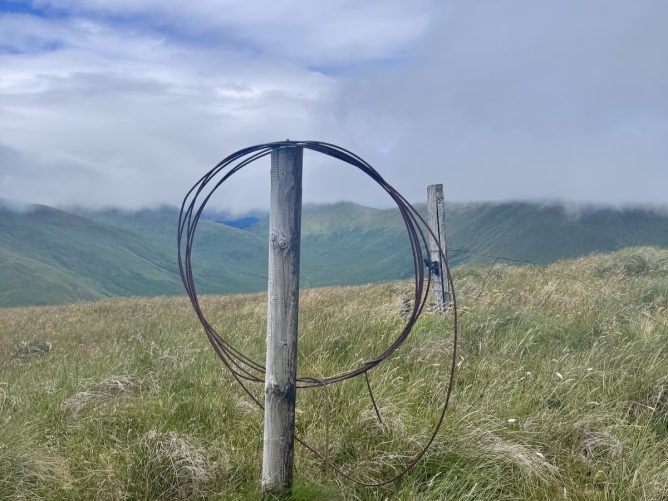
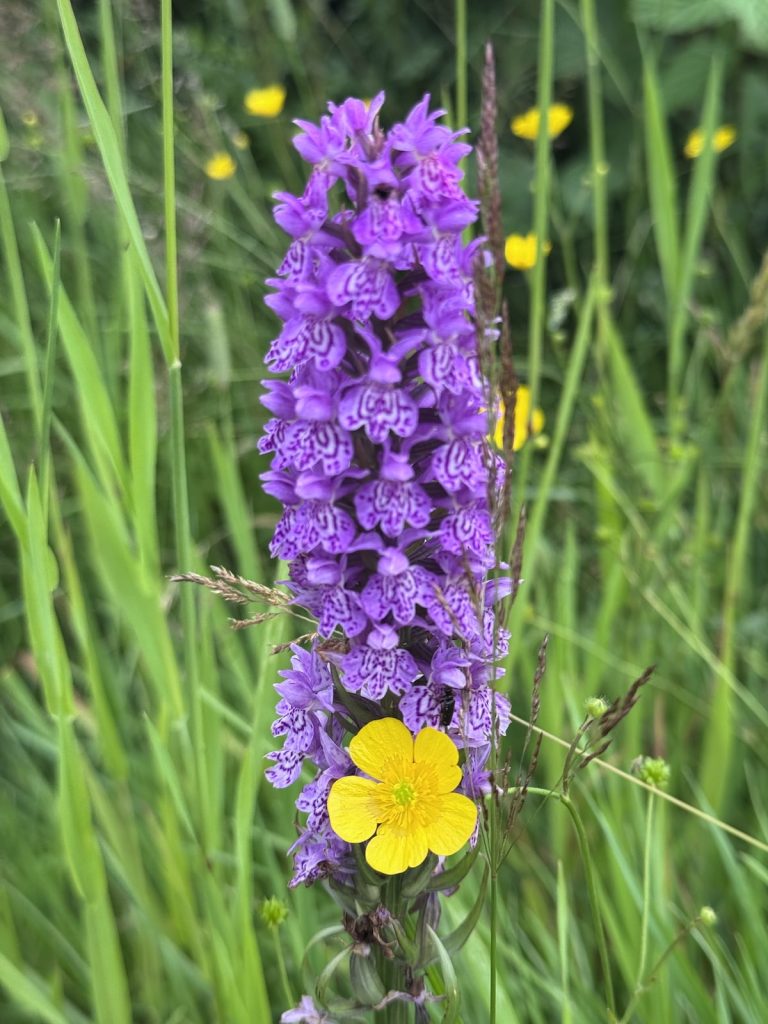
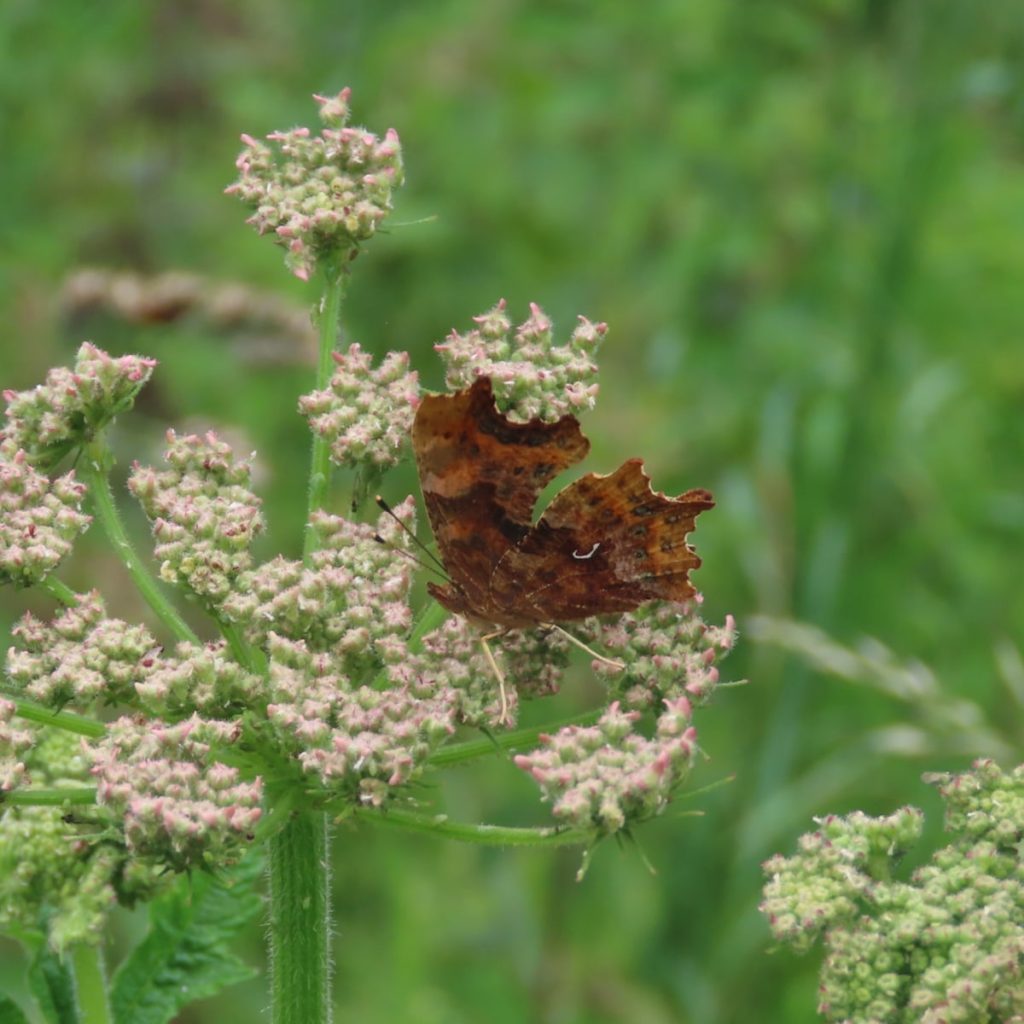
Round the Finlas Loop, warm & cloudy. Creagan hill flora: Mostly grass & deer grass, sparkling with wee flowers today. Heather both ling & bog. Heath bedstraw, cow wheat, tormentil, bog asphodel, bog cotton. Blaeberries. Sphagnum and many other mosses. Yorkshire fog and other grasses.
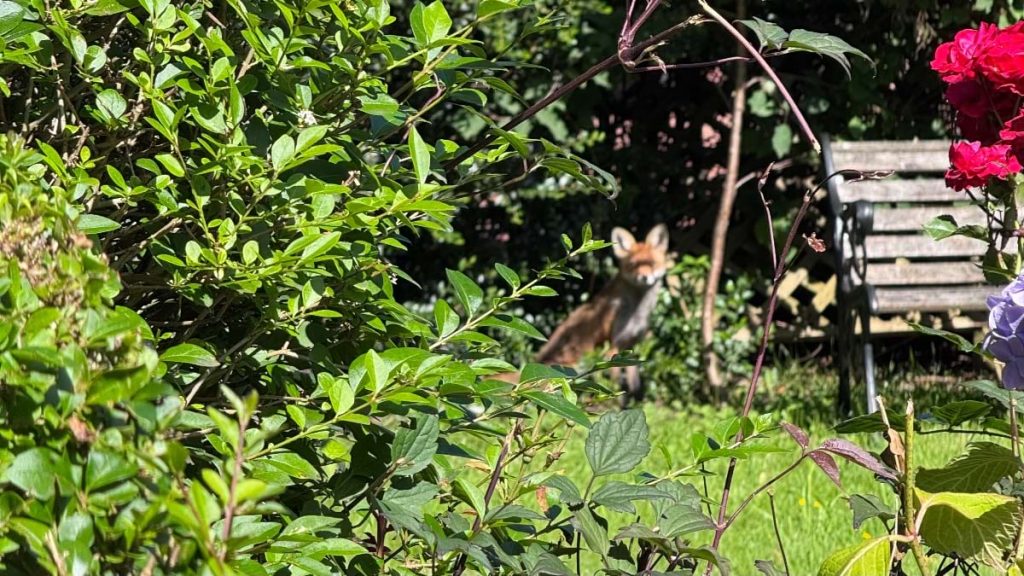
A young looking fox, all long legs & ears, runs out of a garden across the road, doubles back from the traffic. It runs between a couple of gardens so I cross the road & keek, the fox is sitting in the border looking straight back. A quick blurry phone pic & I leave quietly.
Read: The Divorcees by Rowan Beaird ★★★★★ The fifties in a “divorce ranch” in Reno. I did not expect to love this, but I did. Felt a bit like a B&W movie. A feeling of things going awry builds. Great characters, interesting ‘history’ & some surprises.
@Miraz what a lovely set of links. Especially the bushcraft kid. While I’ve not seen anything as dramatic, I see a lot of good in outdoor learning in mainstream (taking my class to the woods for a morning). Gives kids a bit of space both physically and mentally.
The bit I enjoyed most, though, was the punchline at the end. “The irony”, wrote Claude, “is that by calling LLMs ‘artificial intelligence’, we’re not just mischaracterising what these systems do; we’re also impoverishing our understanding of what human intelligence actually is.
Refreshing, straightforward piece from yesterday’s Observer.
PlayPhrase will assemble a clip of movie scenes all having the same phrase, a small supercut if you will.
The results are slick and amusing.
I remember creating a few Supercuts using the amazing Videogrep python script. I thought I’d give it another go. I’ve made quite a few notes on using Videogrep before, but I think I’ve smoothed out a few things on this round. I thought I might write up the process DS106 style just for memory & fun1. The following brief summary assumes you have command line basics.
I decided to just go for people saying ds106 in videos about ds106. I searched for ds106 on YouTube and found quite a few. I needed to download the video and an srt, subtitle, file. Like most videos on YouTube there are not uploaded subtitles on any of the ds106 videos I choose. But you can download the autogenerated subtitles in vtt format and convert to srt with yt-dlp. The downloading and subtitle conversion is handled by yt-dlp2.
I had installed Videogrep a long time ago, but decided to start with a clean install. I understand very little about python and have run into various problems getting things to work. Recently I discover that using a virtual environment seems to help. This creates a separate space to avoid problems with different versions of things. I’d be lying if I could explain much about what these things are. Fortunately it is easy to set up and use if you are at all comfortable with the command line.
The following assumes you are in the terminal and have moved to the folder you want to use.
Create a virtual environment:
python3 -m venv venv
Turn it on:
source venv/bin/activate
Your prompt now looks something like this:
(venv) Mac-Mini-10:videos john$
You will also have a folder venv full of stuff
I am happy to ignore this and go on with the ‘knowledge’ that I can’t mess too much up.
Install Videogrep:
pip install videogrep
I am using yt-dlt to get the videos. As usual I am right in the middle when I realise I should have updated it before I started. I’d advise you to do that first.
You can get a video and generate a srt file form the YouTube auto generated:
Should download the video, the auto generated subtitles and convert them to a srt file!
I edit the video & srt file names to make then easier to see/type
Then you can run Videogrep:
videogrep --input ds106.mp4 --search "ds106"
This makes a file Supercut.mp4 of all the bits of video with the text ‘ds106’ in the srt file.
I did a little editing of the srt file to find and replace ds-106 with ds106, and ds16 with ds106. I think I could work round that by using a regular expression in videogrep.
After trying that I realised I wanted a fragment not a whole sentence, for that you need the vtt file: I can dowmnload that with: yt-dlp –write-auto-sub –sub-lang en –skip-download “https://www.youtube.com/watch?v= tuoOKNJW7EY”
Then I rename the file to ds106.vtt delete the srt file and run
videogrep --input ds106.mp4 --search "106" –search-type fragment
I shortened ds106 to 106 as vtt files seem to split the text into ds and 106.
I ended up with 4 nice wee Supercut files. I could have run through the whole lot at once but I did it one at a time.
I thought I could join all the videos together with ffmpeg, but ran into bother with dimensions and formats so I just opened up iMovie and dragged the clips in.
at the end close the virtualenv with deactivate
reactivate with
source venv/bin/activate
This is about the simplest use of videogrep, it can do much more interesting and complex things.
I am retired, it is raining & Alan mentioned it might be a good idea. ↩︎
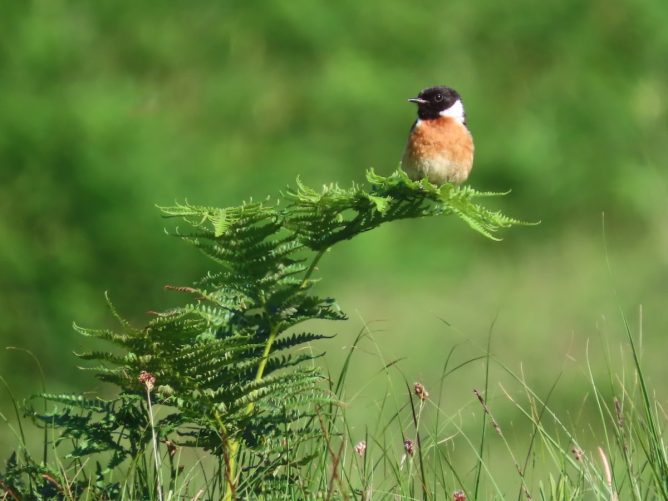
Glen Douglas, started clear, got cloudy. Warm. Lots of tiny wild flowers in the grass. 3 types of heather. Not much fauna, stonechat, a few pipets & larks, a snipe. One ringlet, lone small heath. Didn’t get round the 3 hills, I got quite puffed going up first so just did 2.
Read Midnight & Blue by Ian Rankin ★★★★☆ 📚 Given the unlikely idea of old Rebus in jail. I was surprised that this recent one kept me interested & engaged.