Some links I’ve put on my virtual pinboard recently. Ready for the new term?


Daring Fireball: Sometimes It’s Better to Just Start Over With iCloud Photo Library Syncing

Next, I wanted to delete every single photo and video from my iPhone. To my knowledge there is no easy way to do this on the iPhone itself. (There are a lot of tasks like this that are easy on the Mac thanks to Edit → Select All that are painfully tedious on iOS.) I connected the iPhone to my Mac with a Lightning cable and used Image Capture to delete all photos and videos from my phone. Image Capture just treats the iPhone like a regular camera. Image Capture crashed three times during this process (I’m still running MacOS High Sierra 10.13.6, for what it’s worth), but after the fourth run the iPhone had no photos or videos lefp.

I just deleted all the photos from a school iPad yesterday by selecting a couple and the dragging to select the rest. Worked with ~3000 photos but a bit clunky. I’ll use Image Capture in future. It’s an application I don’t remember very often.

In a 1-2-1 iPad class I do get a lot of benefit from having a mac in school. There a several things that can be solved with a quick airdrop to the mac and back. Given the iPads and mac are of similar vintage (2012).

I’ll edit a note on the mac, it syncs to the iPad (instantaneously it feels like) and I can Airdrop to class or group via classroom app. Now the Classroom app is available for the mac I need to think about upgrading the ageing mac to Mojave. I think it is new enough but spinning hard disk and skimpy ram might be a problem?

Here are some of the things I’ve tagged classroom over the summer holidays.

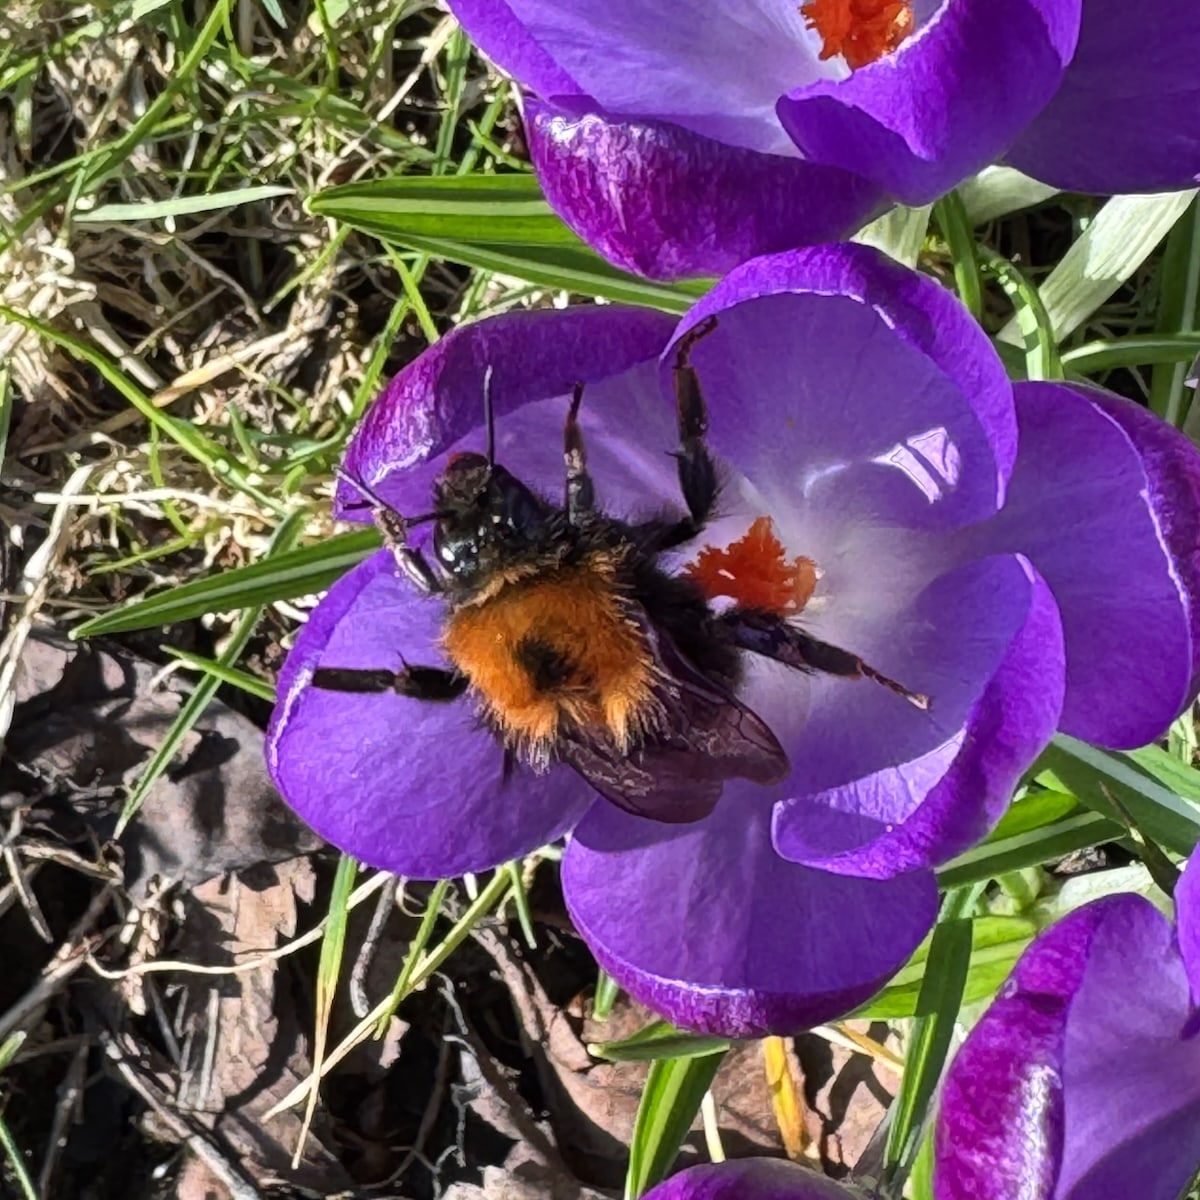
Featured image: my own, I spent a fair bit of the summer trying to get close to butterflies.

As part of my summer holiday fun with WordPress I though I might create a ‘proper’ RSS feed for my microcast.

There are quite a few podcast plugins that would do the job but I though it might be interesting to try a bit of DIY.

Back when I started a class podcast at Radio Sandaig I used to create the RSS feed by hand with a text editor and a fair bit of copy and paste. Over at Edutalk we use feedburner to massage the feed for iTunes.

I used information from How to Roll Your Own Simple WordPress Podcast Plugin | CSS-Tricks to get me started with the template.

I copied the feed-rss2.php file from the wp-includes folder to my child theme folder renaming it feed-microcast.php

wp-content/themes/sempress-child/feed-microcast.php

I adjusted the query to get the posts from my microcast category. I also hard coded the title, link, image and a few other things to simplify the process a little.

I then used the template from CSS-Tricks as a guide to adding the various podcast tags to my template.

This ended up with a pretty broken feed, mostly due to my lack of care, but I fixed it up later I got it linked up.

I didn’t want to use the custom post type approach used in the article because that would involve editing all the old posts or converting them to the new type somehow.

My first idea was to create a feed template and switch to that when the RSS feed for my microcast category was called for.

After failing to get the template to switch for the standard category feed, /category/microcast/feed I ended up with a custom feed at /feed/microcast.

and I add

add_action('init', 'customRSS');
function customRSS(){
        add_feed('microcast', 'customRSSFunc');
}

function customRSSFunc(){
        get_template_part('feed', 'microcast');
}

to my functions.php file.

I then spent a bit of time using the W3C feed validation service until I fixed the feed up to valadate.

I’ve still got to get a link to the feed into the microcast category page head tag and I hope to do that as soon as I’ve gone a bit of research. For now I’ve a link in the sidebar.

Here is the template: WordPress RSS feed template for my microcast

A bit over a week ago I got a tweet from Athole

The premise is simple enough, for 7 days you take a B&W image, tweet it and ask someone else to join in.

I did:

Day 7 is the featured image of this post.

What is interesting about this project is that there is no hashtag. You get mentions from the folk you invite, if they take the invite up and perhaps from some of their invitees.

An enjoyable experience, I though a bit about photography (or at least my phone snapping) and enjoyed seeing other folks images. It felt a little more relaxed than hashtag type collaborations. More meandering perhaps…

Thanks to Athole and the folk who I pestered to join in.

I am finding micro.blog a really interesting community.

From an educational POV the most positive experience and the one that I would like to see replicated (in Glow and elsewhere) is #DS106.

DS106 influences the way I think about ScotEduBlogs and the way I built two Glow Blogging Bootcamps 1.

In particular these sites aggregate participants content but encourage any comments and feedback to go on the originators site.

Micro.blog is making me rethink this a little, there you can comment on micro.blog (the same as the blog hub in DS106) and that comment gets sent as a webmention to the originators site. This makes thinks a lot easier to carry through.

Micro.blog also provides the equivalent of the #ds106 twitter hashtag but keeps that in the same space as the hub/rss reader.

Manton recently wrote:

Micro.blog will never be that big. What we need instead of another huge social network is a bunch of smaller platforms that are built on blogs and the open web.

from: Manton Reece – Replacing 1 billion-user platforms

Which made me think.

Firstly it reinforces how Manton really thinks hard about making micro.blog a brilliant place, avoiding the pitfalls of huge silos.

Secondly it speaks to idea of multiple social networks. Imagine if DS106 and ScotEdublogs where both platforms in this sense, I could join in either or both along with others using my blog to publish. I could decide which posts of mine to send to which community, and so on.

It is the same idea I’ve had for Glow blogs since I started working with them 2.

Class blogs could join in and participate in different projects.

It would be easy to start a local or national project and pull together content and conversation from across the web into one learning space. Although I’ve spoken and blogged a lot about this idea I don’t think I’ve made it stick in the minds of many Scottish educators. I wish I could.

  1. Blogging Bootcamp spring 2015 & Blogging Bootcamp #2 Autumn 2015 . I believe the potential for these sorts of educational activity is much underused in primary and secondary education. I wish I was in the position to organise and design more of these…
  2. For example:

Firstly; I’ve removed most of the post formats leaving the 2 I actually use here. Standard goes to the front page, status to the status. I organise kinds with the post kinds plugin. My Format box now looks like this:

add_action( 'after_setup_theme', 'childtheme_formats', 11 );
function childtheme_formats(){
add_theme_support( 'post-formats', array( 'status') );
}

I added the above to my child themes function.php

Based on Post Formats Formats_in_a_Child_Theme in the WordPress Codex. Standard Format is formatless, so you just add the ones you want in addition.

Secondly; I’ve moved the quote and content generated from the Post Kinds plugin to below the post. This is in the Post Kinds setting so was simple. Having them above my remarks meant that the quote was going to micro.blog and twitter rather than my comment.

I hope to have a bit more time over the summer holidays to rethink and rewire the blog. Some of the decisions I’ve made were perhaps not the best.

Most of the functions that have do with micro.blog and microblogging that live in my child theme’s functions.php in a gist.

I was watching spring watch out of the corner of my eye as I did some prep last night. There was an article about making your own Wildlife cam. It looks a lot simpler than others I’ve seen and used a Raspberry Pi Zero. The BBC site had a link to My Naturewatch where you can get instructions.

This looked like something my class would enjoy using. My zero is busy taking gifs of the clouds (>70000 to date Gif Cam), so I decided to try to use a Raspberry PI 3 instead.

The instructions were really good, simple and worked first time! No soldering involved. You don’t need a monitor for the PI or any logging on through ssh in the terminal. All you need is a PI, a camera module for the PI and a power supply. I used a £2.99 phone charger. You need a plastic box and an old plastic bottle too. This is bargain basement stuff.

The way it works is the then the pi starts up it becomes a network. You connect to this with a computer or other device. You are then on that network and not the Internet. I forgot about this when showing the class and couldn’t project from an iPad;-) You then open a browser and connect to a local website on the PI. There you can start the camera and view or download the pictures.

Once the camera is started it takes a photo every time something moves in front of it.

It was raining fairly heavily this morning so we waited till about 10:15 before putting the camera out on the playground with a handful of peanuts in front of it. After 15 minutes we collected it and had a look at the photos. I am impressed. We need to think a bit about placing the camera, perhaps finding somewhere with smaller birds but the camera worked a treat.

I think this is a really useful tool for the classroom. I hope we can use it to catch some butterflies on sunnier days too. I have had a few failures with hardware Raspberry PI projects. I prefer software ones but this is certainly the most impressive for the least about of work I’ve tried. I’d recommend it highly.