Day 4 of my advent calendar of simple #H5P examples, in. Glow Blogs. A wee game for primary school pupils every day till Christmas.
Tag: classroom
@Miraz what a lovely set of links. Especially the bushcraft kid. While I’ve not seen anything as dramatic, I see a lot of good in outdoor learning in mainstream (taking my class to the woods for a morning). Gives kids a bit of space both physically and mentally.
Last day at school, last fire & last blog post on my class blog.
Yesterday, cleaning out more drawers and cupboards. Full of memories and good intentions.
My blog got its name from an idea I tried to popularise: a Class Blog could be a wall display for everyone to see.
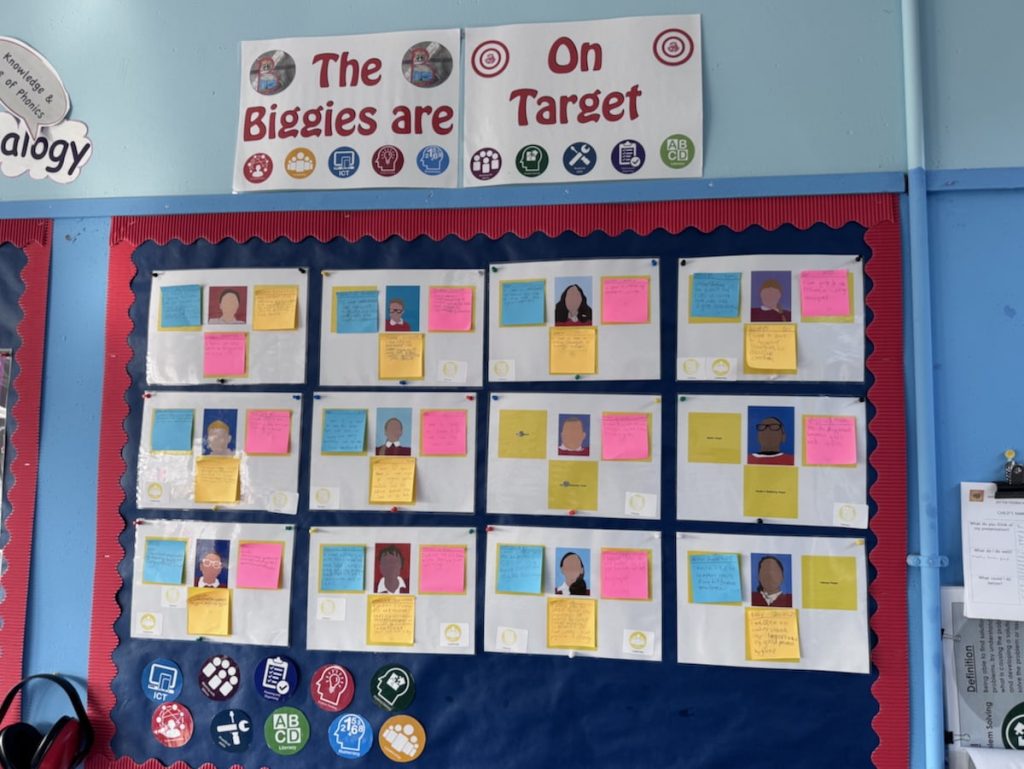
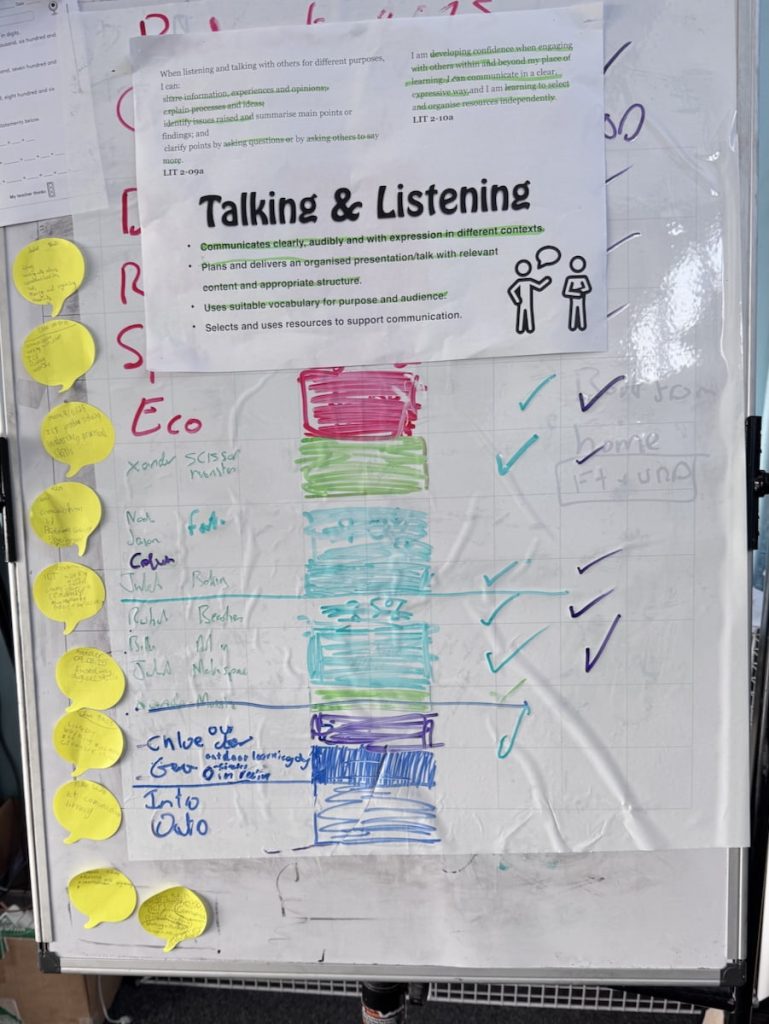
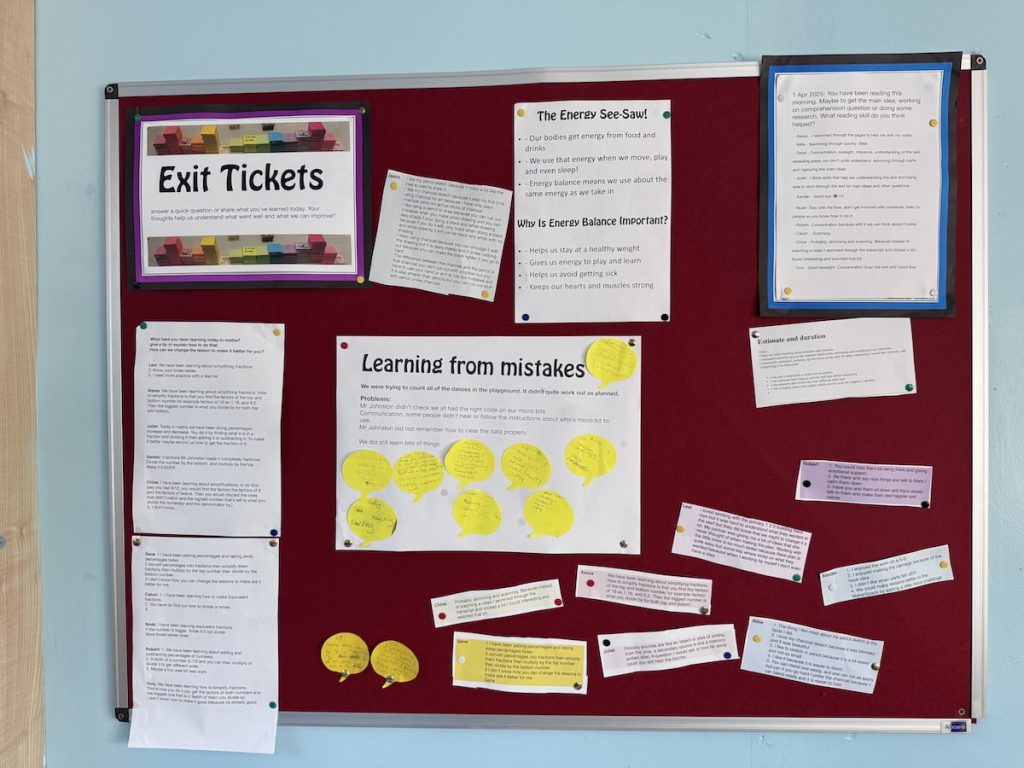
My own classroom displays tend to the messy. As I tidy up for the last time, 🎻, I took a few photos of today for my memory box.
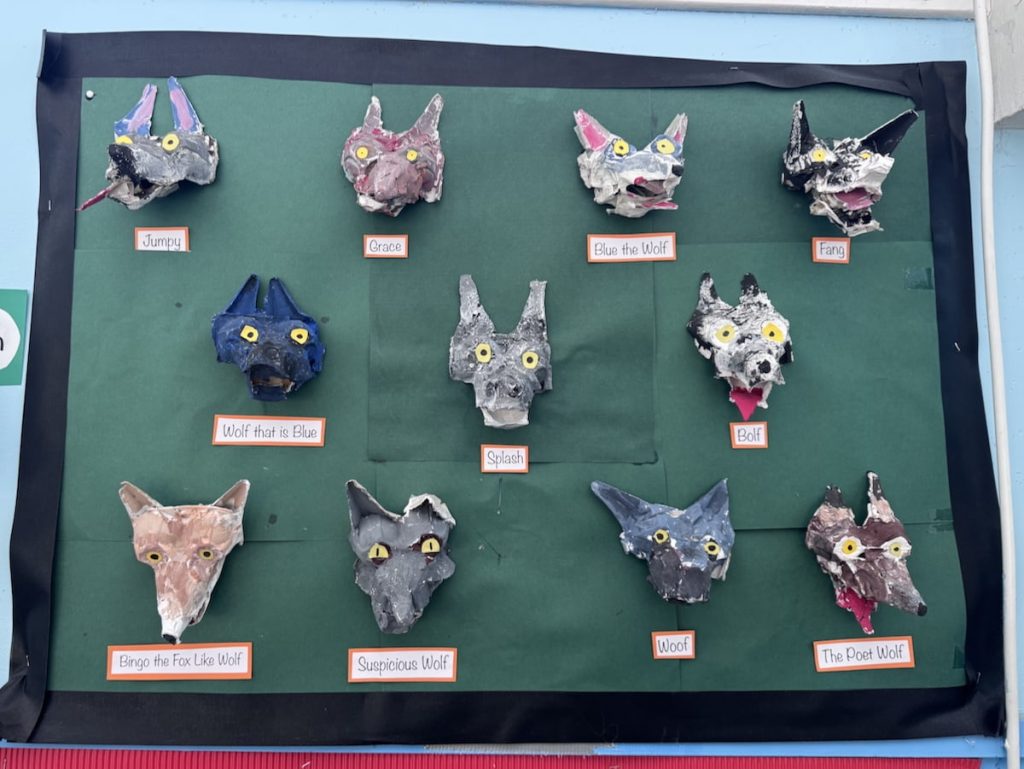
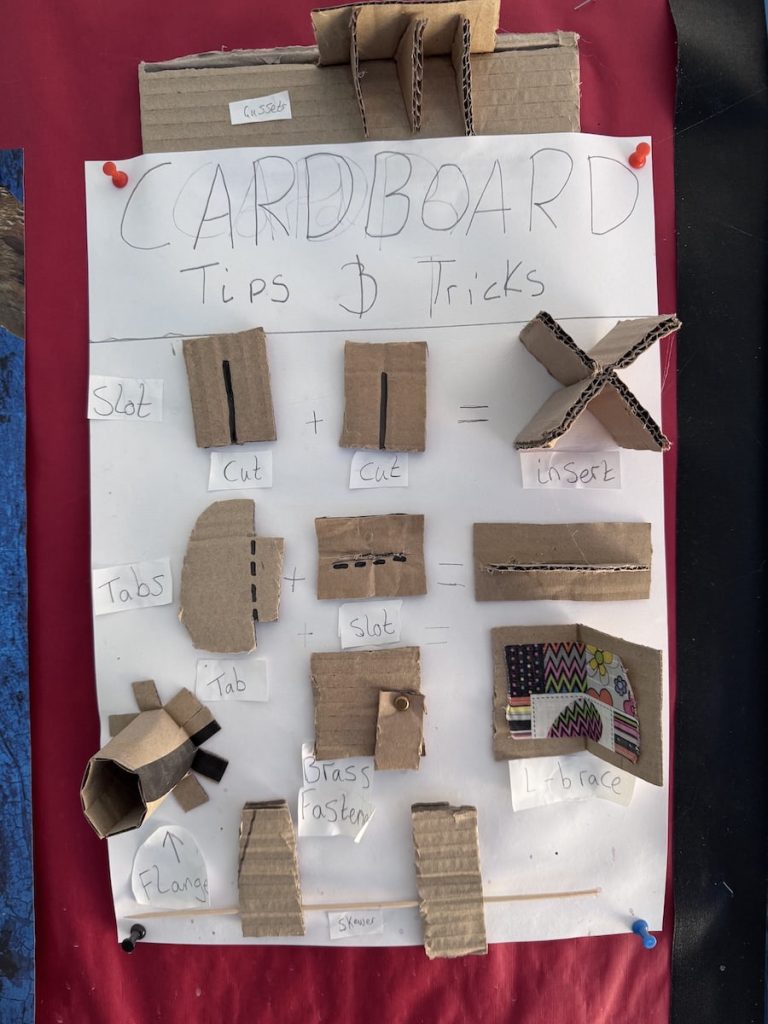
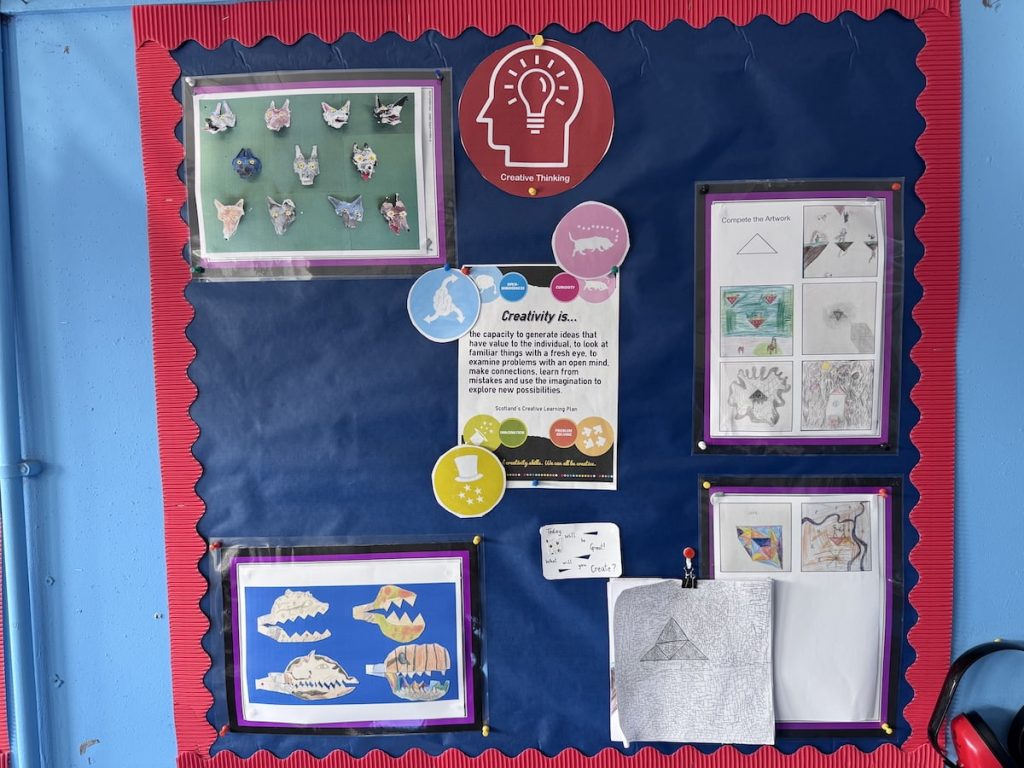
How I use Glow Blogs in my classroom
As I approach my retirement from class teaching, I thought it might be worth making some notes about how I use Glow Blogs1 in that role2. I’ve been using blogs in class since 2024. A lot of what follows is obvious stuff but there may be a nugget or two.
Class Blog
My current class site is the Banton Biggies – The Tallest Class in Banton Primary
This is principally a way of keeping a record of some of the more interesting things we have been doing. Informing parents and any one else interested.
When I started running a class blog, back in 2004, I had pupils doing most of the posting. A rota of pupils who posted about the previous day’s learning. I now focus on my pupils posting to their e-portfolios and some project work. I do all of the posting, I do give some ‘pupil voice’ lift quotes from the classes e-portfolios and exit tickets.
Surprisingly I now find it harder to organise rotas and give individuals time for posting than I did before CfE.
I post a lot more video now than I used to. Most via YouTube. These are often just concatenated photos that I take or short videos the pupils have created or a combination of both. I don’t spend much time editing these, using Snapthread or iMovie, Magic Movie.
I use the WordPress block editor for most things. I try to use featured images, limited number of photos in galleries with some single images. I use the quote block quite often to add text from the pupils.
I use the Embed Plus for YouTube plugin to post YouTube videos. This allows me to avoid suggested videos at the end of play. I needed to get a YouTube API key, which was a bit of a faff, but only had to be done once. The videos are unlisted in YouTube as recommended by North Lanarkshire council.
I seldom use any other blocks. I use slash, /, and start typing the name of the block to insert blocks quickly.
I find the class blog very useful for gathering information about some activity or concept that class have been involved in. I can use separate pages to gather posts on a particular topic or project. for example, I’ve posted a lot about our MakerSpace so have a page for that. There I used the Query Loop Block to gather the relevant posts and the Embed Plus to show a YouTube playlist.
Tags and categories allow me to quickly pull together evidence if asked for. Search lets me aid my failing memory to repeat lessons from a few years back or remember ideas to share.
I know that blogs are a bit more difficult to post to that X/Twitter. Twitter became the go to way to share classroom activity (maybe not so much now). I’ve found time & again that blogs are more powerful and useful. I can’t imagine teaching without one.
Homework
I post homework grids to my class blog as well as providing them physically.
e-Portfolios
My class make use of individual e-Portfolios for keeping a record of some of their learning. At one point the council encouraged schools to use them with all upper primary pupils to produce profiles. I use them to track targets and record learning in a slightly less formal way. Since I teach multi-composites some of my primary sevens have had quite impressive sites.
Hopefully some experience of using the most popular app to create website, WordPress will do some good too.
Project sites
This lists and classifies the creatures we have seen in the playground or our outdoor learning trips to the woods. It has been running for just over a year and I just made it public. The site is organised around the classification of animals. So we are learning about that, lifecycles and some WordPress skills.
This site is being made by the children in the Banton Biggies class of Banton Primary. They are using it to practise their research and writing skills. The information is gleaned from the internet and we try to acknowledge sources appropriately. We may make mistakes and will try and correct them over time. Always a work in progress.
Podcast
My class occasionally creates an episode for the BBP, this has turned out to be about two episodes a year. In my previous school we tried for a podcast once a month, but that was a lunchtime club. Currently my whole class is involved. We use it as an opportunity to explore, writing, collaboration and talking (more).
I’ve posted a lot about podcasting here, for example: More Classroom Podcasting & More Podcasting in the Classroom thoughts
Learning resources
I keep a site as a resource site for my class: Banton Buzz – Challenges, Links and Tasks for the Banton biggies. At first I tried to organise it. Now I mostly give the class links to posts and projects on the site. This means a lot of the content is not easily discoverable. I use H5P a lot (hundreds) on the site to create quizzes and activities. The vast majority of the content here goes along with the NLC spelling program for second level. But I’ve experimented with a lot of other H5P content types, e-portfolio starters, video embeds and experiments.
Exit Tickets
I’ve got blog of this name where I post short exit ticket style questions and pupils post comments. I use this as an occasional alternative to post-its and other plenary tools. I am not sure that I recommend it for anyone else, but as I am pretty familiar with the system I can quickly post a question on the fly and pop up a QR code onto our Apple TV or airdrop a link.
Scratching the Surface
It was over 20 years ago when I started using Blogs in my primary classes. I feel I’ve just scratched the surface of what is possible. It is one thing I would certainly recommend to my fellow teachers as being worth the extra workload.
- Glow Blogs are WordPress blogs provided to Scottish Educators by the government via Glow. Glow is Scotland’s national digital learning platform provided by Scottish Government and managed by Education Scotland. ↩︎
- Slight caveat, I work part-time as Product Owner for Glow blogs, so have a bias. I did start blogging in class before Glow and before Glow adopted WordPress Blogs. ↩︎
Cleaning Cupboards
Usually at this time of year I am busy ‘tidying’ things into cupboards. The summer holidays are approaching. This year I am having to clean the out – nine years of accumulated stuff.
There are worksheets galore, laminated instructions and guides, old Tate gallery calendars. Books, tapes, things I’ve made to help with a task, things I thought might be useful, kids work I couldn’t throw out, old bits of technology, a tower of dvd disks I was keeping for bird scarers.
The electric trunking round my room has a collection of interesting wee things the kids have found, spider skeletons, squirrel and mouse gnawed nuts, broken egg shells feather and the like.
As someone who doesn’t have a great memory, this brings back lots. It has also makes me think of a few slightly connected things.
Reinventing the wheel
Primary teachers create a lot of resources. Or buy them from twinkl or similar. I thought that the flowering of edutech might have delivered shared resources in a more distributed, open way than it has. I do resent the money spent, as I think with some leadership we could have had something great.
I am organising, as best I can, anything I think might be useful and leaving them for the next person to occupy my classroom. But I also found resources left by the previous incumbent that I’ve never touched.
memories
Some of the memories I’ve got are stored in our class blog. As they get older I doubt there of much interest or anyone other than me. I will be a wee bit sad as they are lost or replace in the future.
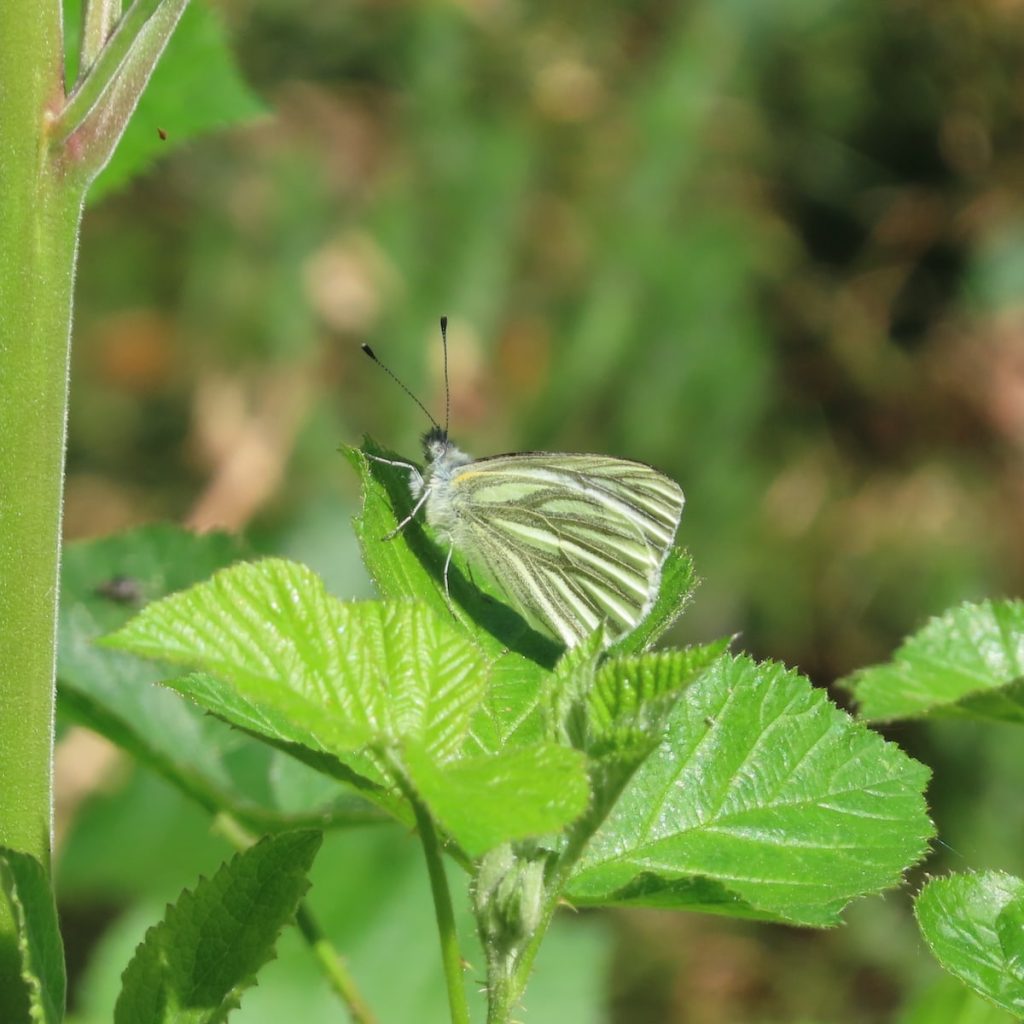
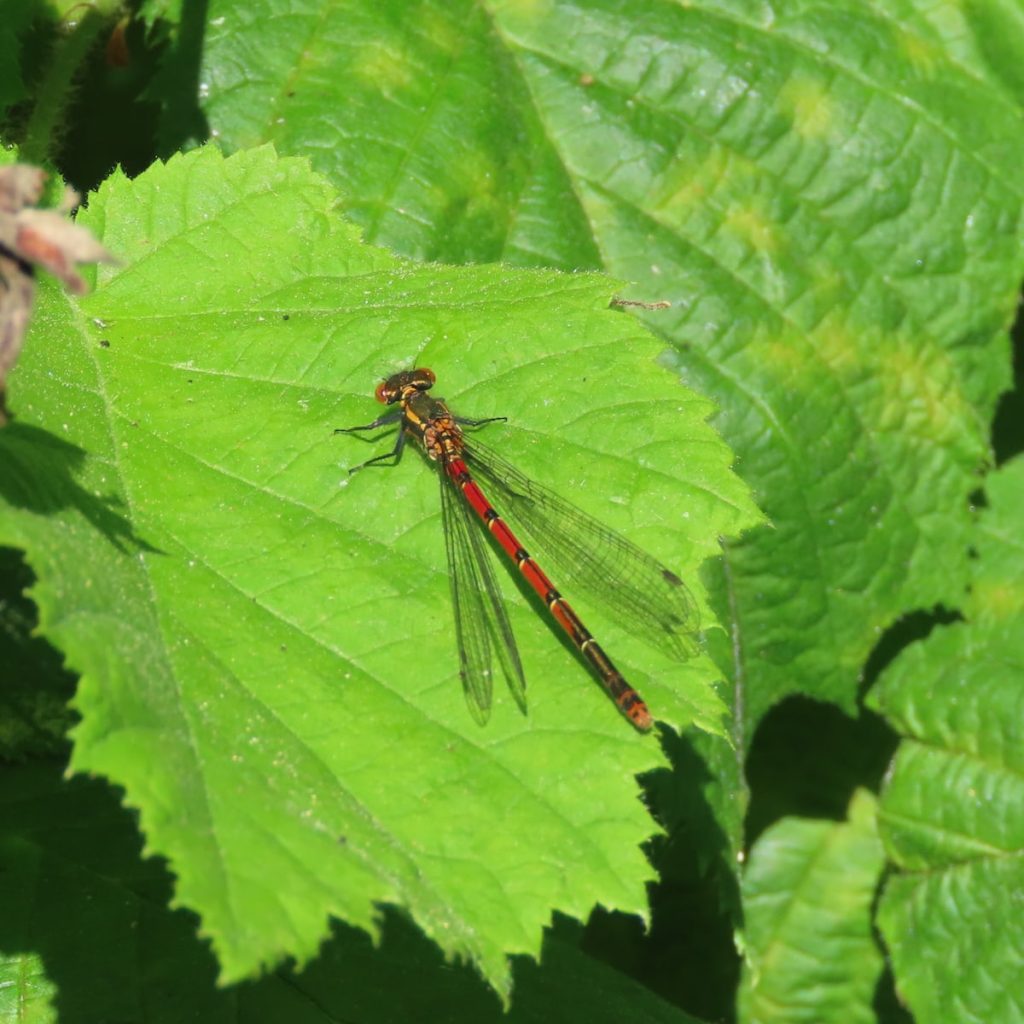

Outdoor learning with my class today. Lines, angles & bearings in maths, some poetry writing & drawing. We also saw some lovely creatures. Green Veined White, Large Red Damselfly & Speckled Wood butterfly.
As my full time teaching moves towards the end. I wonder what other job allows you to: organise an art exhibit; video conference with someone from NASA; go for walks in the woods; write poems; learn about AI; play with paint, numbers, cardboard & a whole lot more. Half full I’d say.
H5P Christmas Advent in Glow Blogs
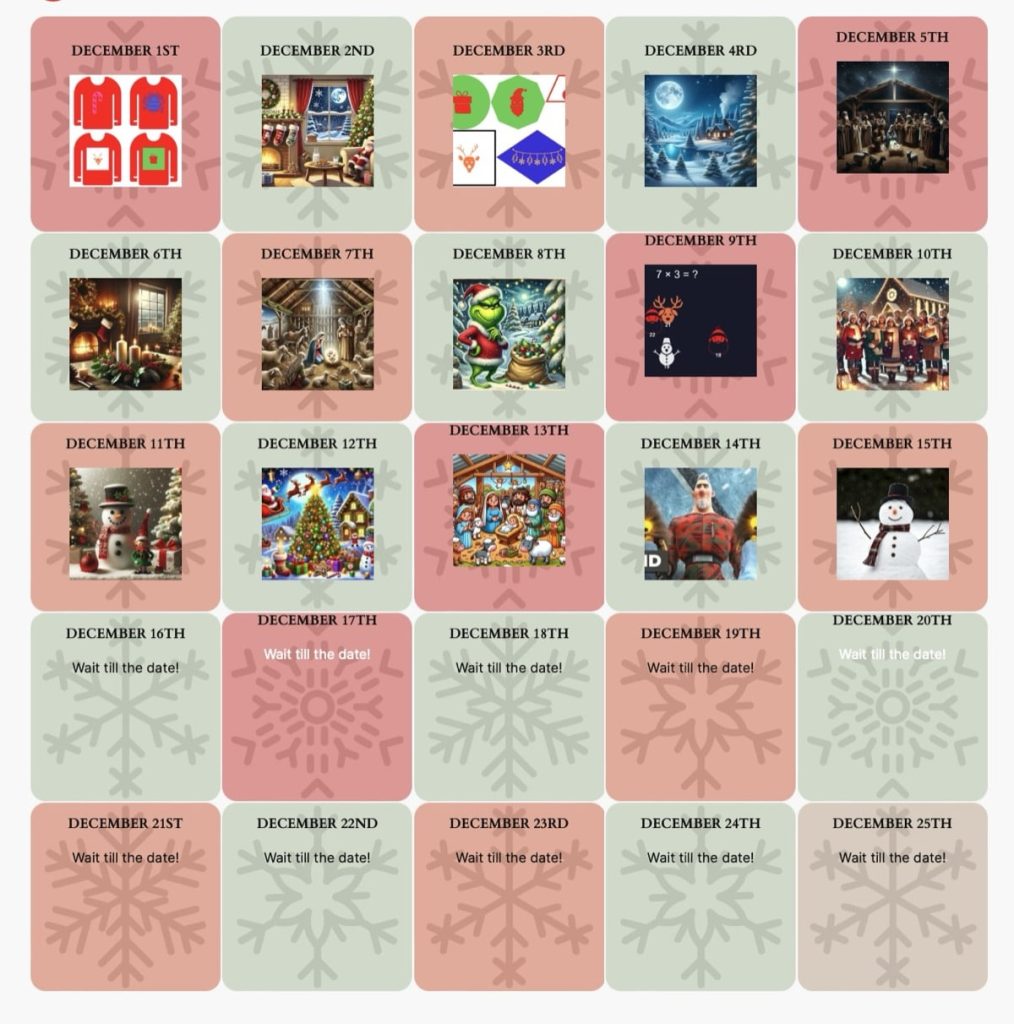
The Advent calendar in Glow Blogs has now 15 wee activities for mid-upper primary. 5 minutes of Christmas fun or a brain break for each day. New ones appear at 1 minute past midnight.
I have learnt a bit about the Site Editor when making the Calendar page. I used the new, to Glow, Grid Block. Each grid contains a group with a display post shortcode. The Display posts plugin allows me to show a thumbnail for the post published on a particular day. If there are no posts it just shows text of my choice. In this case ‘wait for the date’. The posts are queued up by scheduling.
There is an Advent Calendar in H5P itself, but I like the display post approach.
Each post has a simple H5P activity. Matching games, quizzes and the like.The Site Editor in Glow blogs is a really powerful tool for creating different looks. I’ve enjoyed testing the cover block a bit this weekend.

