I was watching spring watch out of the corner of my eye as I did some prep last night. There was an article about making your own Wildlife cam. It looks a lot simpler than others I’ve seen and used a Raspberry Pi Zero. The BBC site had a link to My Naturewatch where you can get instructions.
This looked like something my class would enjoy using. My zero is busy taking gifs of the clouds (>70000 to date Gif Cam), so I decided to try to use a Raspberry PI 3 instead.
The instructions were really good, simple and worked first time! No soldering involved. You don’t need a monitor for the PI or any logging on through ssh in the terminal. All you need is a PI, a camera module for the PI and a power supply. I used a £2.99 phone charger. You need a plastic box and an old plastic bottle too. This is bargain basement stuff.
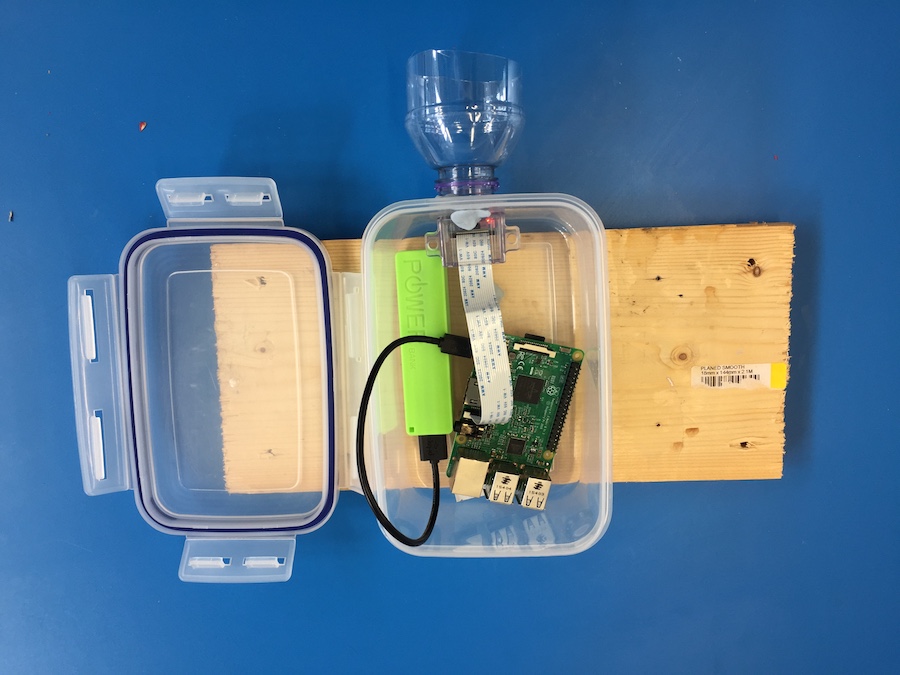
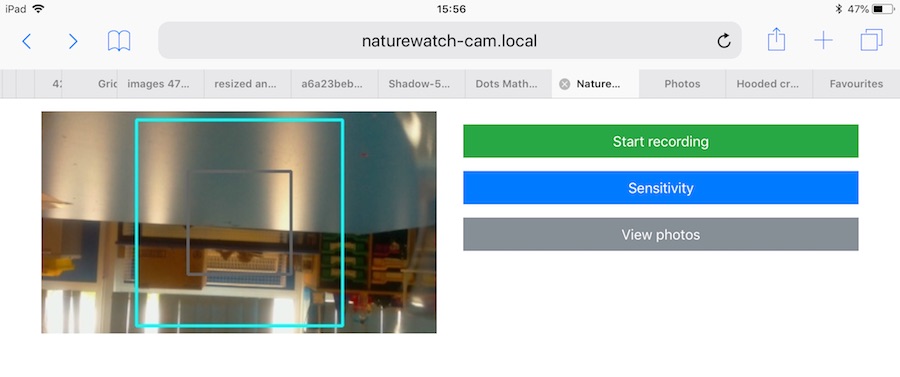
The way it works is the then the pi starts up it becomes a network. You connect to this with a computer or other device. You are then on that network and not the Internet. I forgot about this when showing the class and couldn’t project from an iPad;-) You then open a browser and connect to a local website on the PI. There you can start the camera and view or download the pictures.
Once the camera is started it takes a photo every time something moves in front of it.
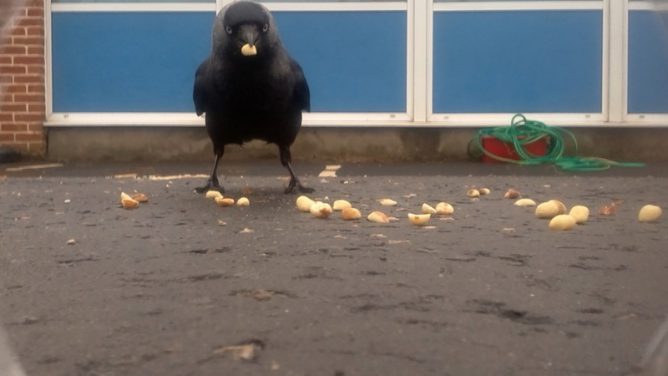
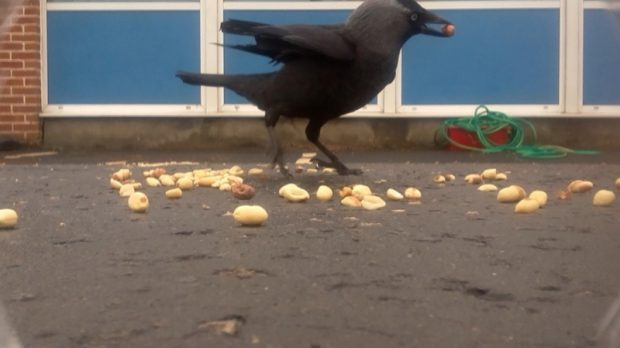
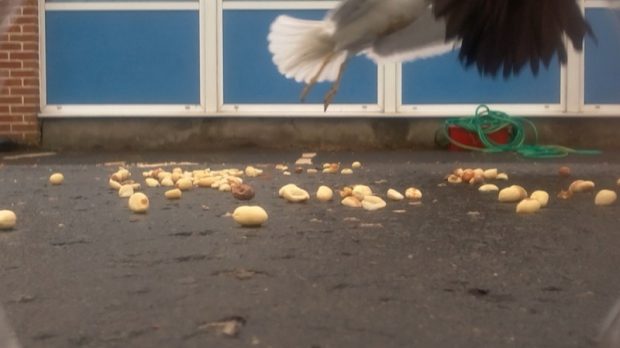
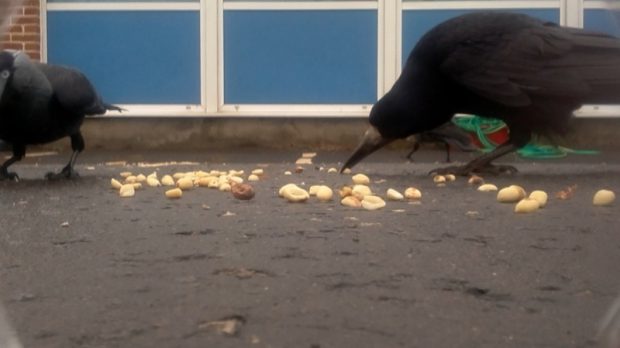
It was raining fairly heavily this morning so we waited till about 10:15 before putting the camera out on the playground with a handful of peanuts in front of it. After 15 minutes we collected it and had a look at the photos. I am impressed. We need to think a bit about placing the camera, perhaps finding somewhere with smaller birds but the camera worked a treat.
I think this is a really useful tool for the classroom. I hope we can use it to catch some butterflies on sunnier days too. I have had a few failures with hardware Raspberry PI projects. I prefer software ones but this is certainly the most impressive for the least about of work I’ve tried. I’d recommend it highly.

