This is pretty basic stuff but I’ve found it useful in class.
I’ve often combined writing poetry with digital tools in the classroom. There are a lot of short forms that mean even the slowest typist can produce something good in limited time. From a pupil blogging perspective pupils of varying ability often get great results they can be proud of publishing.
When I started using iPads in teachers training and with pupils, I started using simple poetry forms as a way to produce something quickly that could develop from text be combined with images, video and audio.
Good, IMO, forms are kennings, lunes, haiku and six word stories.
Back then we used skitch and comic life to added text to pictures. More recently I moved on to the free version of pic collage 1.
When I arrived back in the classroom with a pile of iPads I’ve been using the technique quite a bit.
More recently 2 I’ve cut out third party apps to use the newish built in markup in the Photos app. Recently I demoed the process at an interview and saw Jenni Robertson show it at an Apple event in Glasgow. On both occasions I was surprised to find that it was a new concept to most of the audience. I though it might be worth a post here. There is a video embedded at the bottom of this post, but here are some written instructions.
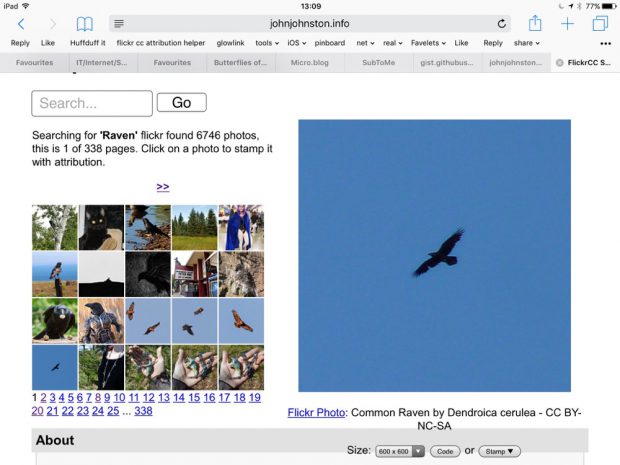
Start with an image
This is a good opportunity to talk and demo a wee bit about copyright and attribution. In class we often use the Morguefile or my own FlickrCC Stampr.
write some words
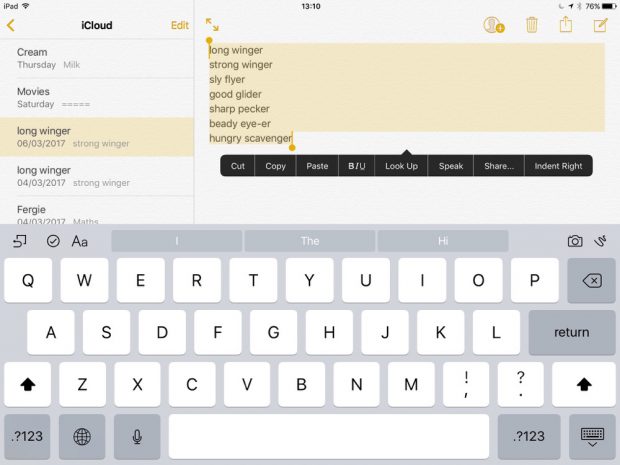
I believe it is best to use the notes app for this, avoiding thinking about how the text looks, where it goes etc.
Copy the text to the clipboard.
Combine the words and pictures
Open photos
Select and view the image.
Click on the adjustment icon

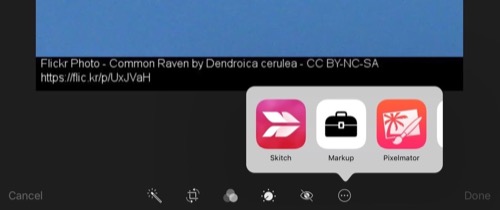
When the photo opens click on the ellipses and then Markup
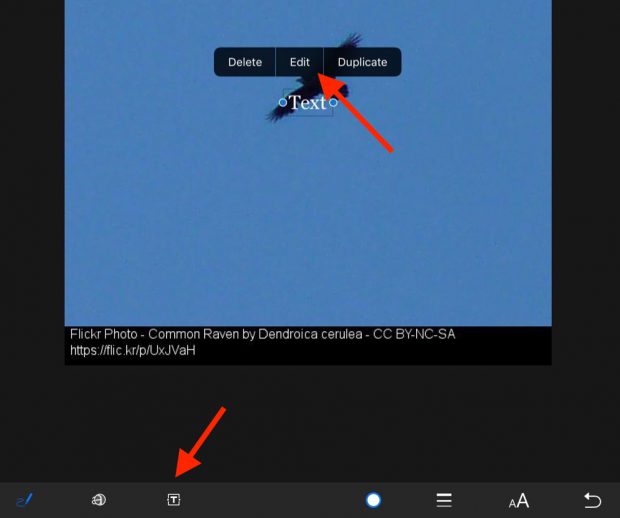
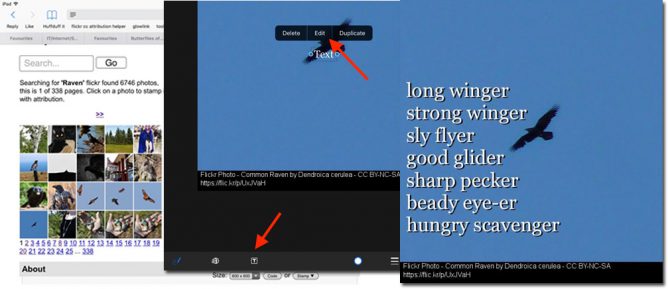
On the markup screen click the T tool to add a text box and then press on the box to edit it.
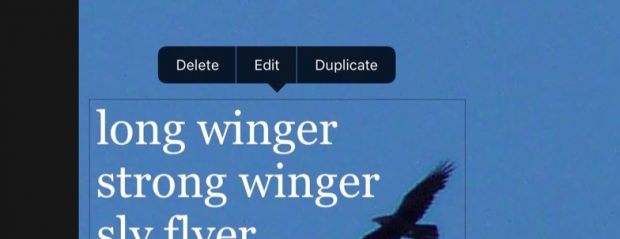
Paste in your poem.
Adjust the size, colour and placing of the text.
Bonus Tip – drop shadow
Duplicate the text, change the colour of one and move the top one over the bottom leaving a nice ‘old style’ drop shadow. I think this is worth it as a intro to layers in graphics. It can also hep readability on complex backgrounds.
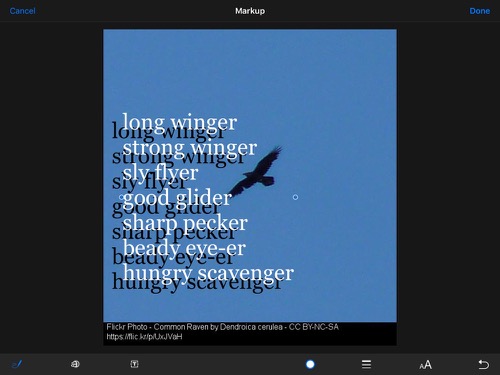
Although this is a very simple lesson I think it give the opportunity to teach a few different things over and above literacy involved in the writing:
- Copyright and creative commons
- Combining apps (safari, notes, photos) in a workflow.
- Layers
It has the potential for being extended into video & audio editing (groups pictures perhaps) and sharing the results.
Here is a quick screencast.
1. Some examples from my class using pic collage Frosty Photos and Poems – Banton Biggies ↩
2. For example Kennings, we know about animals – Banton Biggies ↩

Shhh….I am offline for the weekend but reading your blog 🙂
Only today I was trying to use One Shot on Pad and could not get it to work. I found the Markup icon by chance and wondered if…and you answered the question. I will follow the tutorial for your Banton Biggies, don’t tell them I am an old lady. I love the detail of the old fashioned shadow.
I never knew!
Thanks