Commandline gifs: Cartoon The Nitty Gritty

I’ve covered most of this before, but given the news that someone reads this stuff, I though I’d document it a bit more.

Prerequisites: ffmpeg, imagemagick, gifsicle, I’ve installed all of these commandline apps via Homebrew.

Cartoon Fred’s ImageMagick Scripts: CARTOON.

I downloaded this then made it executable using the terminal:

chmode +x cartoon

I then moved in into /usr/local/bin/

the proper way is probably
mv cartoon /usr/local/bin/

but I did open /usr/local/bin/ which open the folder in the finder and dragged the file across.

I ned a movie so:

Which I downloaded with YouTube downloader tool – Fastesttube!.

I copied the download into a folder and renamed it dancer.mp4

In the terminal I move into the folder by typing cd and dragging the folder int the window and pressing return.

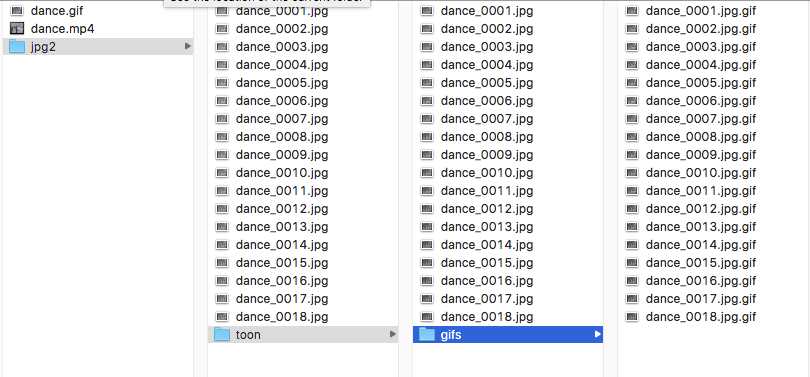
I then made a new folder mkdir jpg2

I switched to the finder and previewed the movie to find out where I want to start extracting frames, which turns out to be at 26 seconds, and I want to get 3 seconds worth at 6 frames per second:

ffmpeg -ss 00:00:26.000 -i dance.mp4 -t 00:00:03.000 -r 6 jpg2/dance_%04d.jpg

This give me 18 jpgs in a folder.

I move int othat folder and make a new one:
cd jpg2
mkdir toon

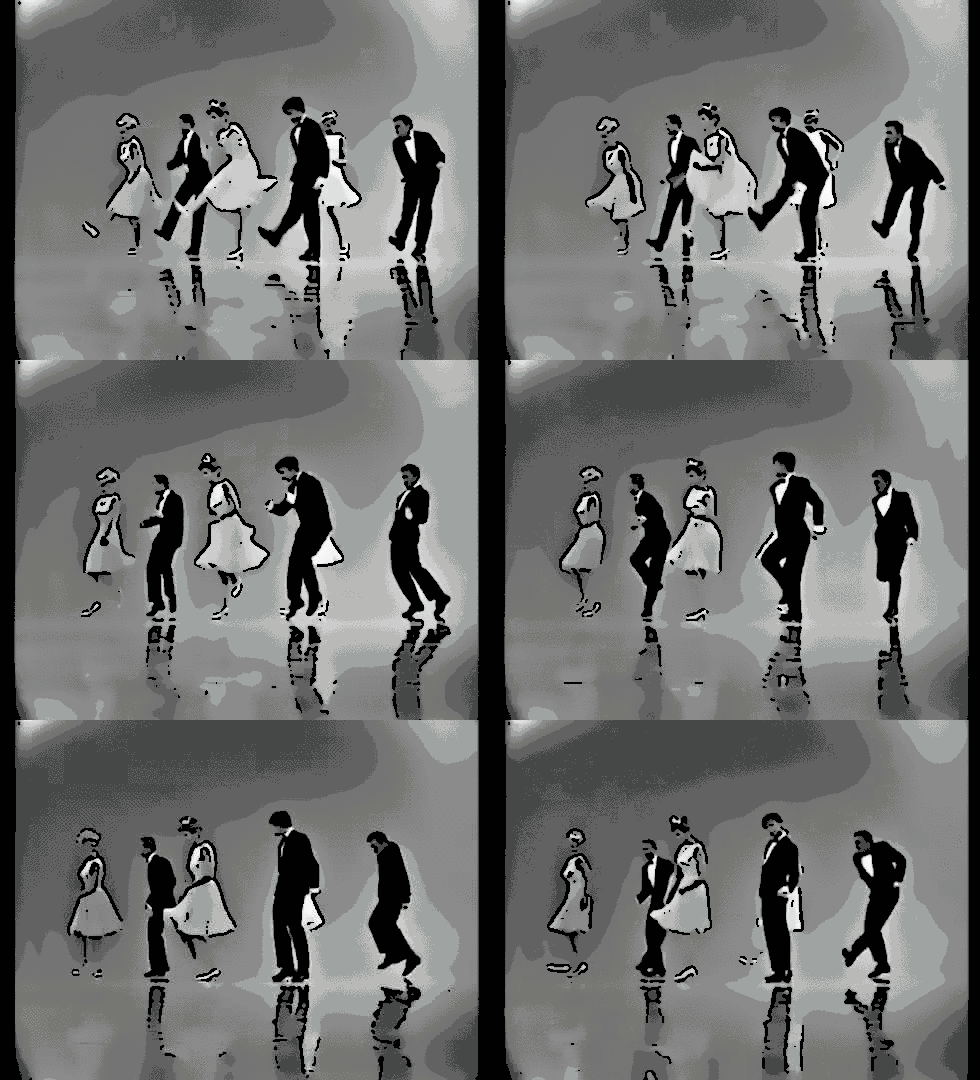
I then use cartoon to make a cartoon image for each jpg in the toon folder:

for i in *.jpg; do cartoon $i toon/$i;done
(cartoon uses imagemagick)

This takes a wee while, I then make yet another folder:

mkdir gifs

and convert all the cartoon jpgs into gifs:

for i in *.jpg; do convert $i gifs/$i.gif;done

(convert is part of imagemagick)

Finally I make a gif

gifsicle --delay 12 gifs/*.gif --loopcount -O3 --colors 16 -o ../../dance.gif

You can see the gif ends up in the top folder. There is a 12/100 of a second delay, it loops forever, is reduced to 16 colors and optimised (O3).

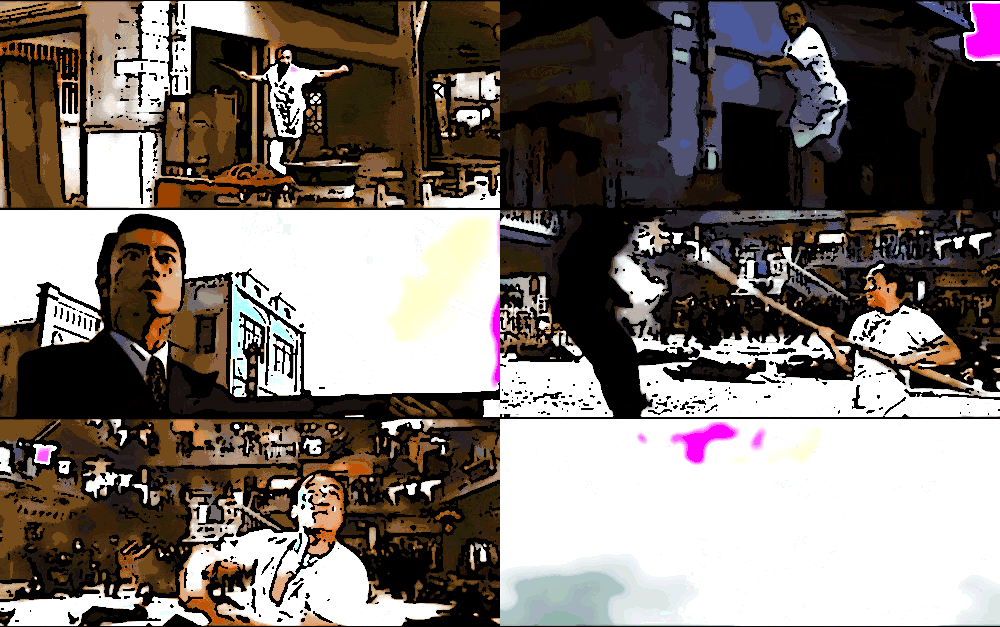
Screen Shot 2016-07-15 at 15.58.07


Along the way there are a lot of other possibilities, convert for example can adjust the brightness and contrast (and a raft of other things). I brightened these ones up a bit:

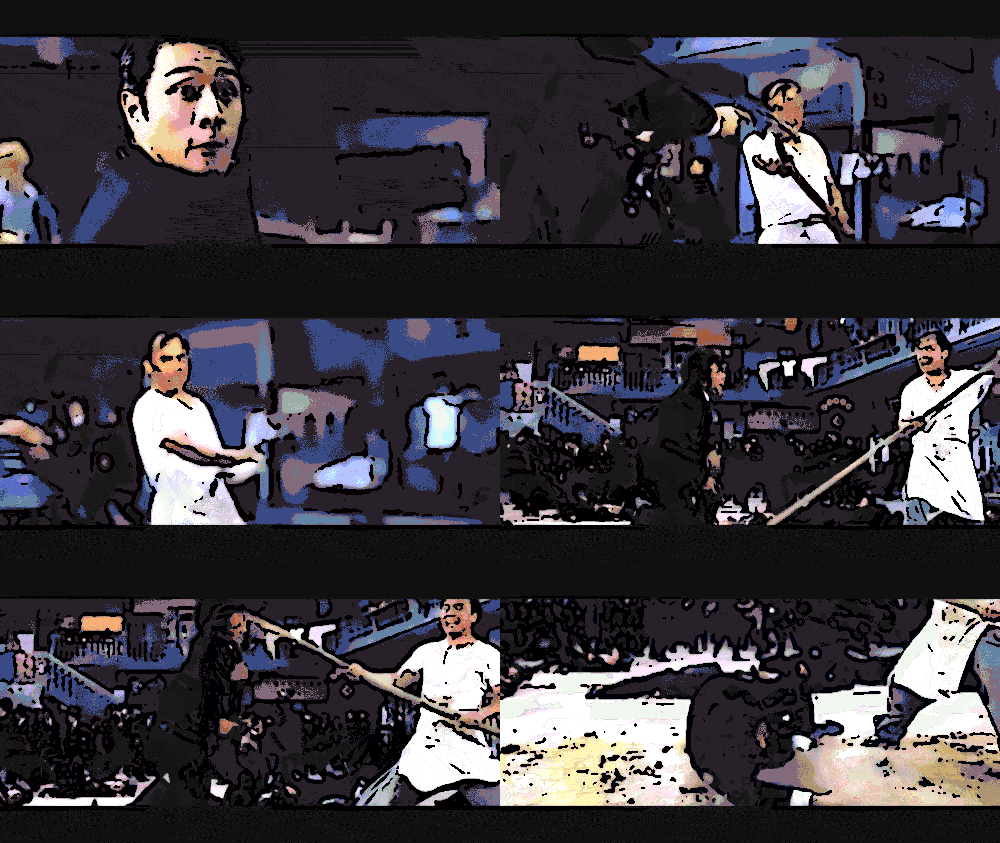
gunstick

stickgun2

In reaction to

Like the cartooning of videos a couple of posts ago there is the opportunity to see and understand a bit more about film using this technique. Jim might be thinking that (says Alan) but so far I am just having fun.


CSS phenakistiscope

The linked site: phenakistiscope de bal | Succursale | Ruppert & Mulot is indeed lovely. It uses Flash. This got me thinking a wee bit about CSS animations.

CSS phenakistiscope was a first test, followed by More phenakistoscope.

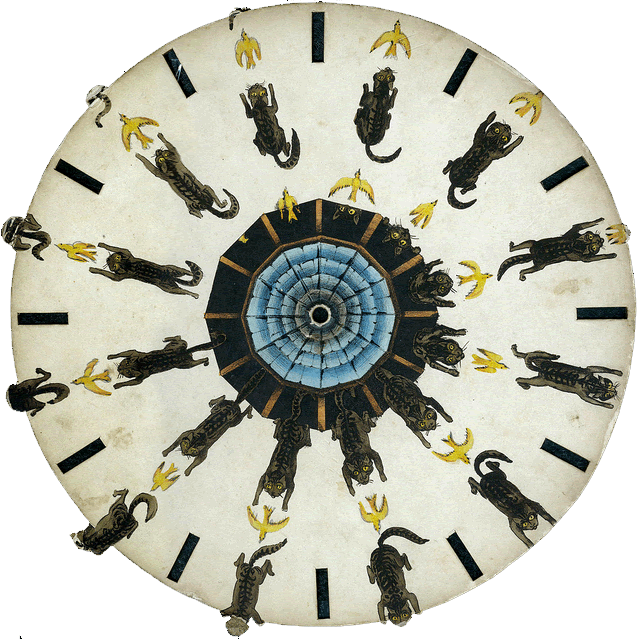
Here is an example (click on the image to see it without animation):

bird-cat-12

Image from: NCSSM | Flickr – Photo Sharing! used under a Creative Commons — Attribution-NonCommercial-ShareAlike 2.0 Generic — CC BY-NC-SA 2.0

There are more examples on the pages linked above, but I’ve added the following css to this blog (using the jetpack css module).

.catchase {
    animation-duration: 2s;
    animation-timing-function: steps(13,end);
    animation-name: anticlockwise;
    animation-iteration-count: infinite;
}

@keyframes anticlockwise {
    to {
        -ms-transform: rotate(0deg);
        -moz-transform: rotate(0deg);
        -webkit-transform: rotate(0deg);
        -o-transform: rotate(0deg);
        transform: rotate(0deg);
    }
    
    from {
        -ms-transform: rotate(360deg);
        -moz-transform: rotate(360deg);
        -webkit-transform: rotate(360deg);
        -o-transform: rotate(360deg);
        transform: rotate(360deg);
    }
}

CSS3 Animations have some advantages over gifs, for this sort of thing, smaller files & more colours for two.

The css contains an animation @keyframes rule containing the animation code (the anticlockwise bit above) which is referred to in the images style. The bloc above could be shortened to:

animation: anticlockwise 2s steps(11,end) infinite;

I’ve played with css animation here before: Not an animated gif and am now beginning to get a handle on it. Wondering if it could be useful for optical illusions. I’d also like to make a virtual Phenakistoscope that could load different files that need different speeds and steps. Adding some sort of mask/viewer would be nice too…

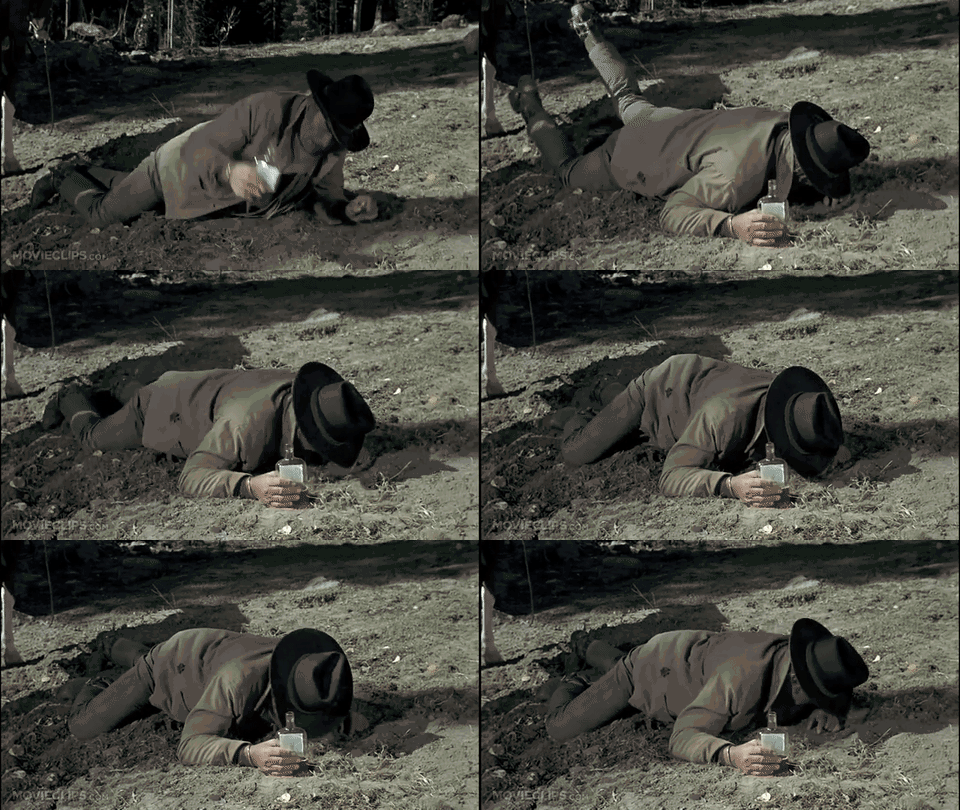
Drunken Gifs

One should always be drunk. That’s all that matters…But with what? With wine, with poetry, or with virtue, as you chose. But get drunk.

― Charles Baudelaire

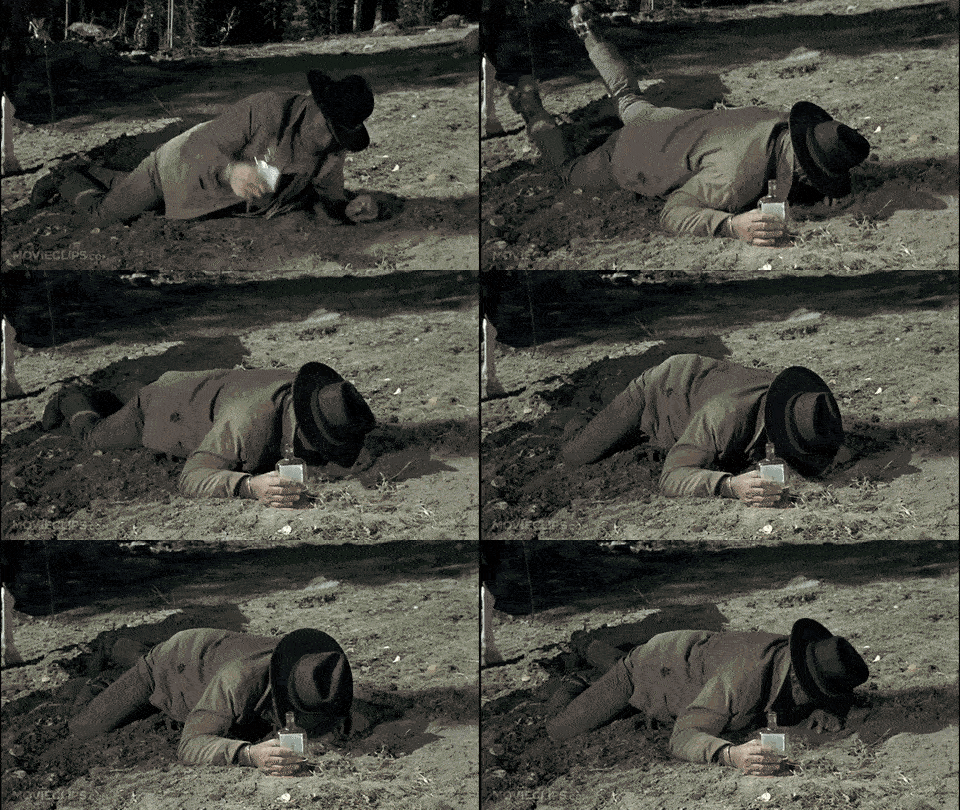
I find gifs intoxicating, not the looking at them but creating. This is ridiculous. I find sitting down to rip a gif out of a movie and crush it to as small as possible, or to script some sort of weird concoction a lot of fun.

This morning I read Alan’s post: Ooh Ooh Mr Kotter! I Know How To Optimize My GIFs!. It is great, a reminder than some of the fun of giffing is keeping the file size down.

Alan uses photoshop. I’ve never really got a grip of that application. I tend to use firefox, gifsicle or even javascript.

I though that I would se if I could replicate the sort of optimisation he writes about using gifsicle, for a wee bit of fun and learning. I’ve blogged about gifsicle a fair bit here. Gifsicle is a commandline application for working with gifs. It can be downloaded from Gifsicle: Command-Line Animated GIFs.

I stared by a sort of replication Alan’s use of GIPHY’s GIF Maker. I took:

and fed it through the giffy tool.

Like Alan I ended up with a huge gif 4.5MB worth.

So I downloaded it and got some info about it with gifsicle on the commandline:

john$ gifsicle -I drunk.gif
* drunk.gif 45 images
  logical screen 480x270
  global color table [256]
  background 2
  loop forever
  + image #0 480x270 transparent 2
    disposal asis delay 0.07s
  + image #1 480x270 transparent 2
    disposal asis delay 0.06s
  + image #2 480x270 transparent 2
    disposal asis delay 0.07s
  + image #3 480x270 transparent 2
    disposal asis delay 0.07s
  + image #4 480x270 transparent 2
    disposal asis delay 0.06s
  + image #5 480x270 transparent 2

There were a good few more lines, but I got the idea that there were 45 frames, each about 0.07 seconds long.

The plan was to reduce the colours, the number of frames and increase the length of frames to compensate.

The first thing I tried was:
gifsicle -U -O3 -d 28 --colors 128 drunk.gif `seq -f "#%g" 0 4 45` -o drunk-128.gif

What this does

-U: unoptimises the input gif

-O3: optimises the output

-d 28: set the delay to 28/100 sec

  • colors 128: cuts down the number of colours

seq -f "#%g" 0 4 45 is a clever bit:-) it produces a sequence of numbers with # in front between 0 & 45 in jumps of four. This causes gifsicle to use those frames of the original gif. We have reduced the number of frames and increased their length to keep the animation the same length.

This resulted in a 1.1MB file, not too good. I repeated the exercise with 64 colors, which got the gif down to 800kb

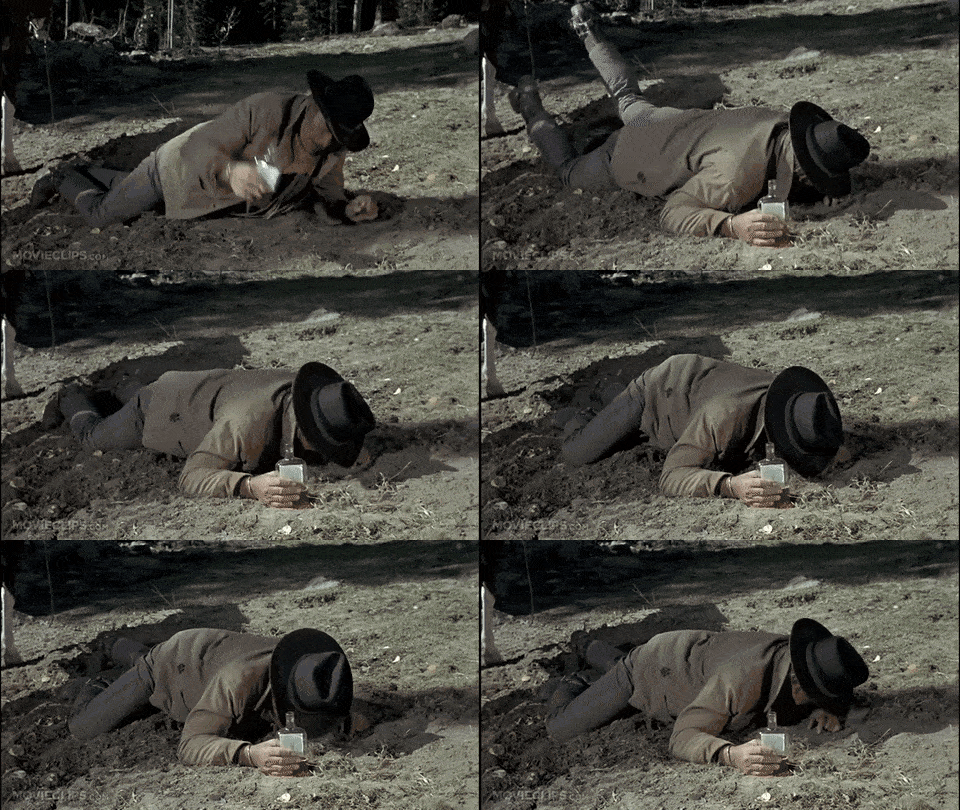
drunk-64

Not too bad but still a bit big. I then remembered there was a version of gifsicle that could do lossy production of gifs. Alan mentions using this in photoshop. I had downloaded this before but lot it. A qick google found this interesting post: Lossy Optimization for Animated GIFs – Rigor and lead to Lossy GIF compressor where I downloaded the modified version again.

I could now:

gifsicle -O3 --lossy=80 -U -d 28 --colors 128 drunk.gif `seq -f "#%g" 0 4 45` -o drunk-lossy-128.gif

Which give me, a 480k gif:
drunk-lossy-128

gifsicle -O3 --lossy=80 -U -d 28 --colors 64 drunk.gif `seq -f "#%g" 0 4 45` -o drunk-lossy-64.gif reduces the colours and weighs in at 391k (from the original 4.5MB).

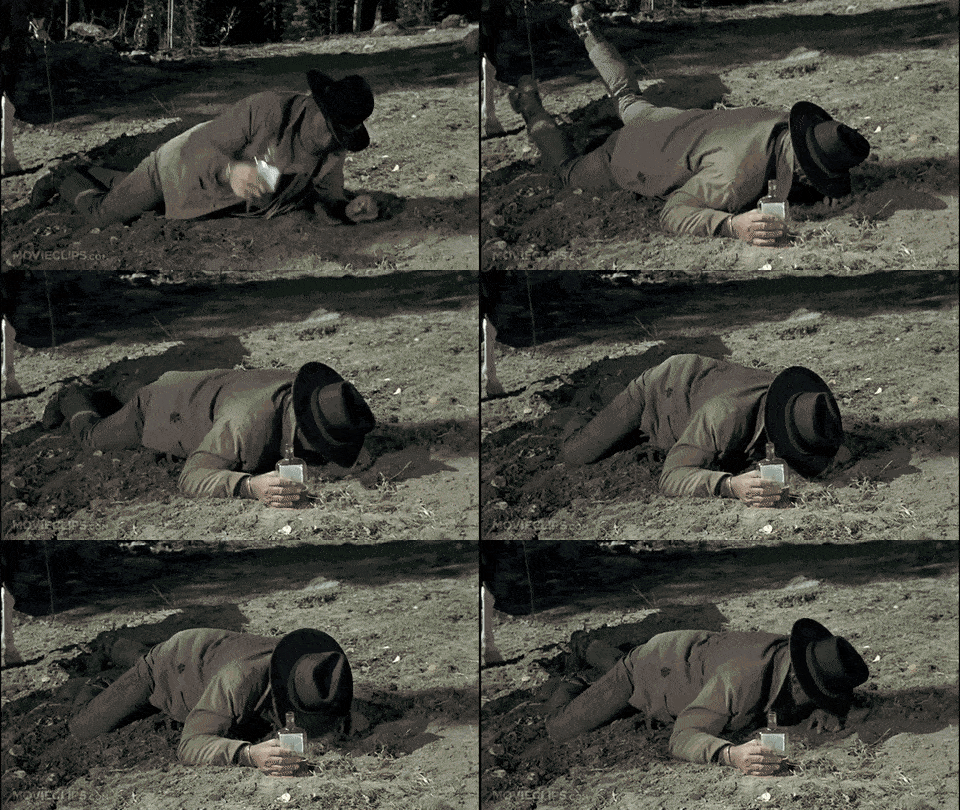
drunk-lossy-64

I decided to push the lossyness a bit to:
gifsicle -O3 --lossy=160 -U -d 28 --colors 64 drunk.gif `seq -f "#%g" 0 4 45` -o drunk-lossy-160-colors-64.gif

drunk-lossy-160-colors-64

This only shave the gif down to 325K so I think lossy=80 seems a good compromise.

This sort of gif fun might not be everyones drink, but if you are interested, I’ve some more scattered around this blog including: Taking Command of Gifs – 106 drop in and Gifsicle Comparison

Taking Command of Gifs

These are some notes on creating gifs and manipulating images on the command line on a mac. I am pretty much at the limit of my knowledge here so some of the details may be sketchy. It seems to me that this allows one to iterate through various ideas quite quickly. I do often take the result into Fireworks for some tweaking of colour palettes.

GIF IT UP – DigitalNZ is on.

Calling all GIF-makers, creatives, history nuts, and animators! GIF IT UP is a challenge coordinated by DigitalNZ and the Digital Public Library of America to find the best GIFs created from copyright-free heritage material.

The early entries look formidable GIF IT UP 2015, but I am trying out a few things in the hope of getting to something worth entering.

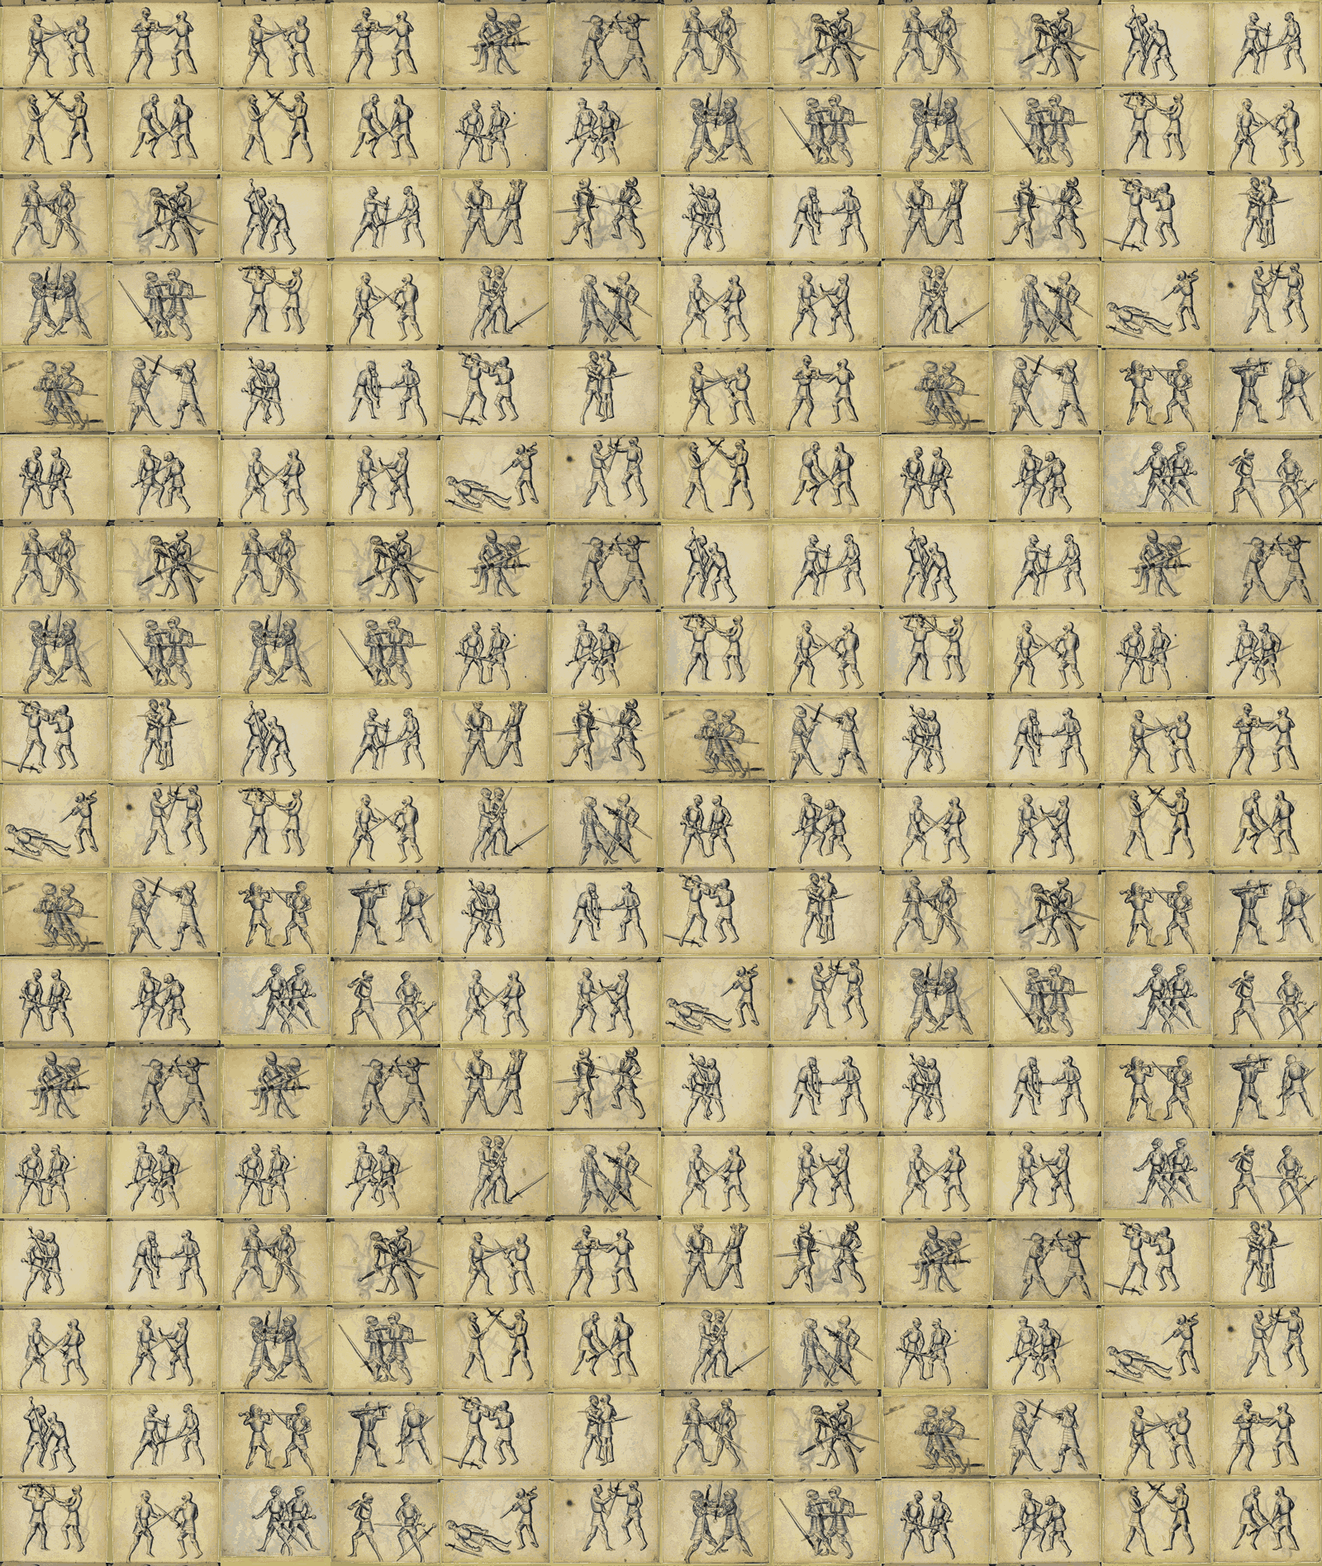
One of the suggested sites for source material is Europeana and I found a nice set of images: Book on Swordsmanship and Wrestling from the mid 15th century. I though a selection might make a nice flip-book. Here is the process:

Gather the images

This was a pretty manual process. I decided to grab the ones for fencing. Loaded each pages in the browser then right clicked and downloaded all of the jpgs to a folder.

Resizing images

I now start to use the terminal.

To move into the folder of downloaded jpegs I type cd and then drag in the folder, which gives me:

cd /Users/john/Desktop/DS106GifitUP15/swords2

I hit return and I am in the right folder to do some work.

Then I make a new folder for smaller pictures:
mkdir 500
This produces a folder called 500.

Next resize all the downloaded jpgs to smaller versions in the 500 folder:

for i in *.jpg; do sips --resampleWidth 500 $i --out 500/$i;done

What this does:
for i in *.jpg for every jpg

do sips --resampleWidth 500 $i --out 500/$i; sips in an image manipulating programme build into OS X, the $i variable refers in turn to each file. so for a file 5055078.jpg we are doing this:

sips --resampleWidth 500 5055078.jpg --out 500/5055078.jpg

done lets the loop know where to finish.

For all the jpgs, resize to 500 pixels wide putting resized version in the 500 folder with the same name as the source file. The semicolons separate sections of code creating a loop.

Making Gifs

I then cd 500 to move into the new folder and mkdir gifs to create a folder for gif files. Then:

for i in *.jpg; do sips -s format gif $i --out gifs/$i.gif;done

Which uses sips to create gifs from the jpgs, name like 5055078.jpg.gif Not the most beautiful names but these are only temporary files.

Animation

Now I had 49 single gifs, not yet animated. To animate them I use Gifsicle. This needs to be installed, there is an installer on that link or it can be installed through homebrew 1

49 frames is a few too many I decided to try 11. Gifsicle had a lot of options, I just used a few typing: gifsicle --delay 20 --colors 64 --loop then dragging 11 single frame gifs into the terminal window to add them typing -o fight.gif This looks pretty messy but hitting return gives me a gif fight in the current directory (500).
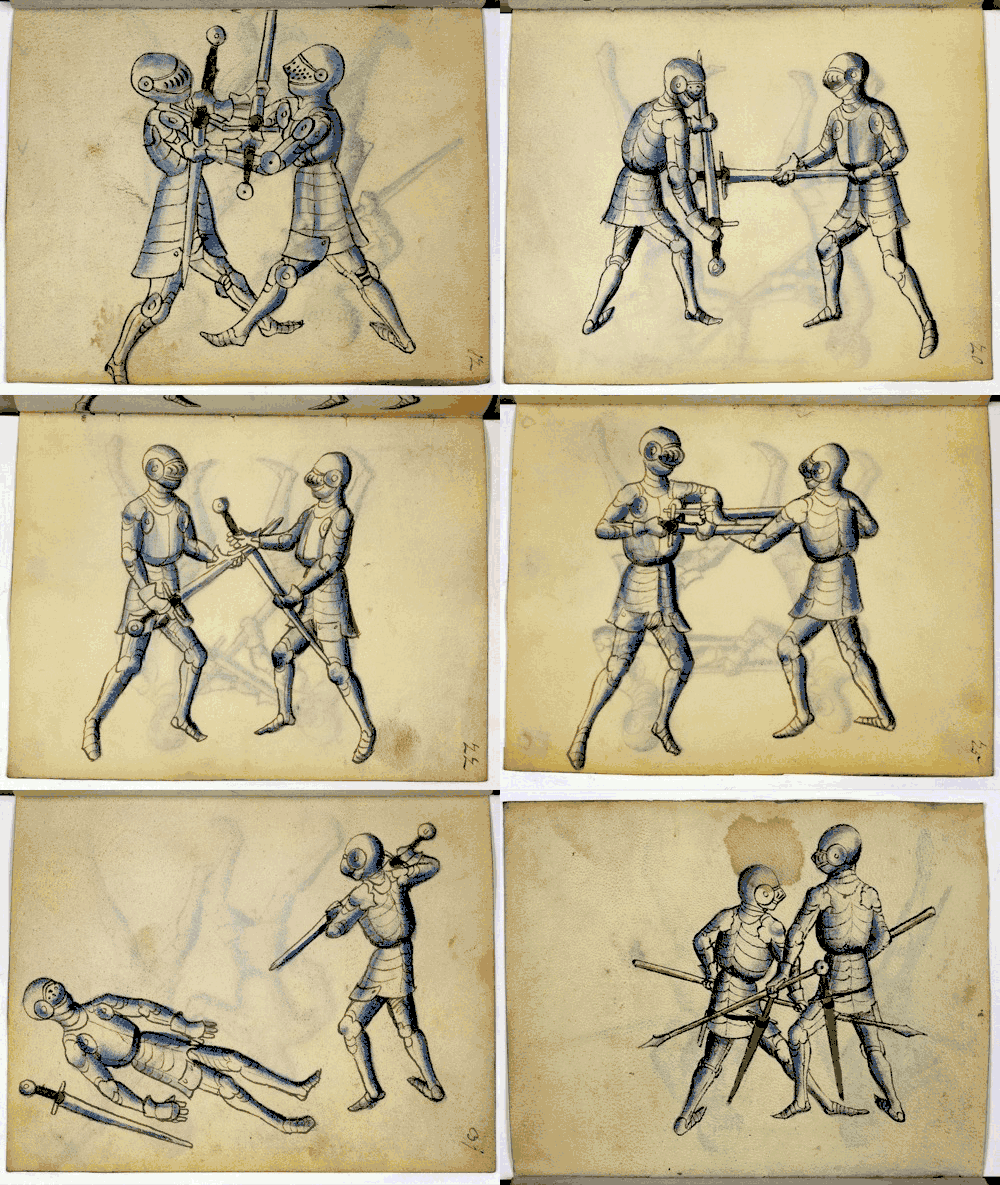
fight

Montage

The next idea I had was to have several fights going on at the same time. For this I needed to make a set of images made up of 4 of the original images in a 2×2 grid.

There is a commandline application montage 2 that is installed as part of ImageMagick This can be installed via a download or with homebrew (or macports). Homebrew will take care of installing any dependencies as it goes.

Basic use of montage might be:
montage -tile 2x -geometry +0+0 5055069.jpg 5055123.jpg 5055228.jpg 5055280.jpg montageexample.jpeg

If you were in a folder containing images named 5055069.jpg, 5055123.jpg, 5055228.jpg and 5055280.jpg the -tile 2x parameter tells montage to make a 2x wide grid, -geometry +0+0 means there is no gsap between images and seems to stop the auto thumbnailing.
This gives you an image like this:
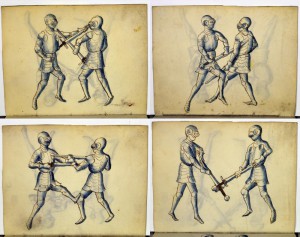
5055262

But I want to go through the images creating lots of different sets of 4 images. I don’t want to do this by hand.

By this time I am a fair way out of my comfort zone and need to scrape my memory and google a bit. What I need is xargs.

I am still in the folder with all the 500 pixel versions of the jpgs. First I make a new folder for the montages mkdir mont.

Then:
ls *.jpg | xargs -n 4 sh -c 'montage -tile 2x -geometry +0+0 "$0" "$@" mont/"$0" '

The first bit: ls *.jpg , just get a list of all of the jpg files, and the pipe, |, sends it to xargs.
The -n 4 means that xargs uses sets of four out of the list, sh creates a command for these sets which is:

'montage -tile 2x -geometry +0+0 "$0" "$@" mont/"$0" '

The “$0” “$@” just lists the set of 4 images, I did some testing with

ls *.jpg | xargs -n 4 sh -c 'echo "$0" "$@" '

To figure that out.

I end up with a set of jpgs with a different grid of 2×2 images in a folder.
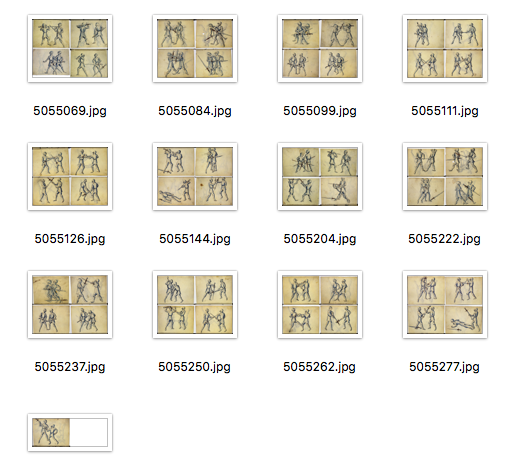
Screen Shot 2015-10-19 at 15.01.35

I delete the single one at the end and now I can make a gif with sips and gifsicle, repeating the process above:
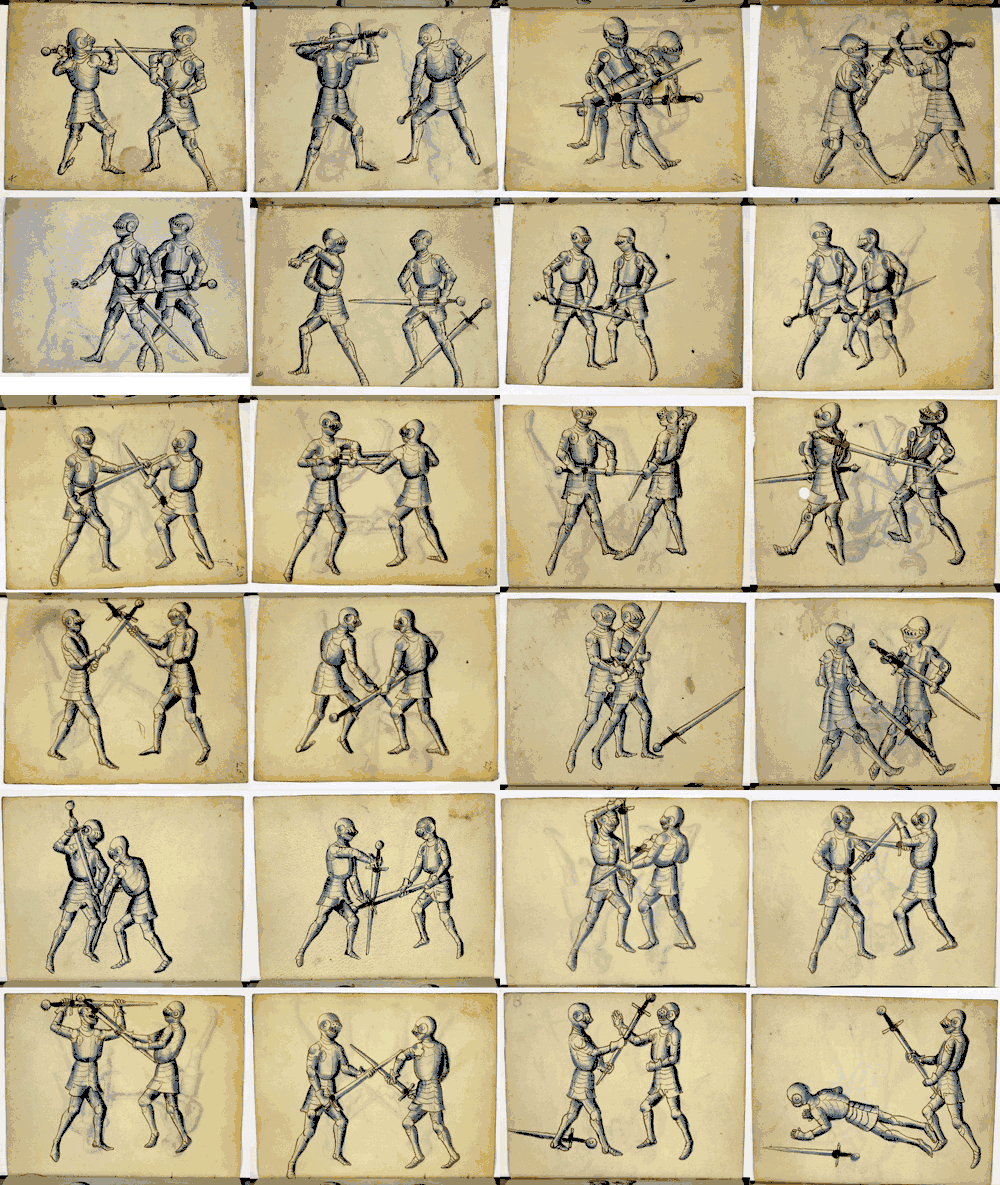
fourby4-32colors


And:

fencing-6x-6

I tweaked the colour pallet in fireworks for this last one, getting rid of the white borders.

There is a lot more to explore in this, I am starting to test gifsicle’s dither and colors options and will probably post a bunch of tests soonish of the results. I am also wondering if I can do some sort of zoom effect, like a movie zooming out from one fight to a battlefield…

Update: Gifsicle Comparison some tests of gifsicle parameters.
  1. homebrew installs the stuff you need that Apple didn’t. You can get a lot of interesting command line applications using it.
  2. ImageMagick: Command-line Tools: Montage Use the montage program to create a composite image by combining several separate images. The images are tiled on the composite image optionally adorned with a border, frame, image name, and more.

Gifinformation

Here is the village there is a constant battle to avoid giving any information away. From a ds106 Assignments should come with information, a prisoner106 dilemma?

To start making good the many assignments with a lack of supporting information here, I’ve made a few brief tests on exporting gifs and the dither and loss settings.

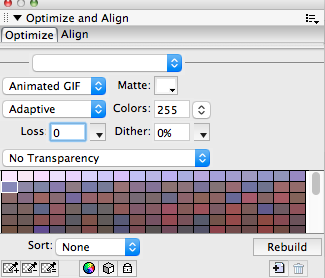
I usually use FireWorks for creating gifs, with the occasional dip into Photoshop for selection tools. In FireWorks the export options look like this:
fireworks-gifexport


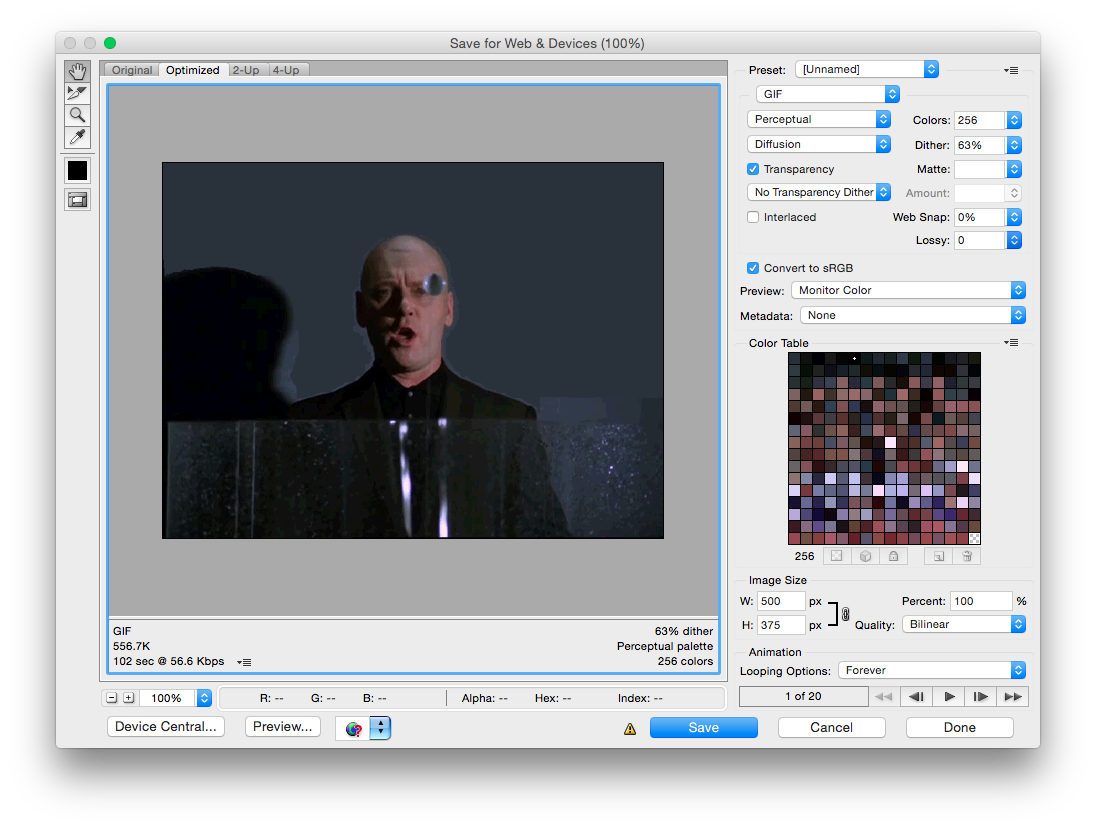
In Photoshop 5.5 the export dialog:

photoshop-gif-export


In Both it is easy to adjust both dither and loss:

I took a gif I made a few posts ago and exported it at different settings, you can see the result here: Gif Loss and Gif Dither.

Personally I usually go for small size over quality but hopefully not too mindlessly.

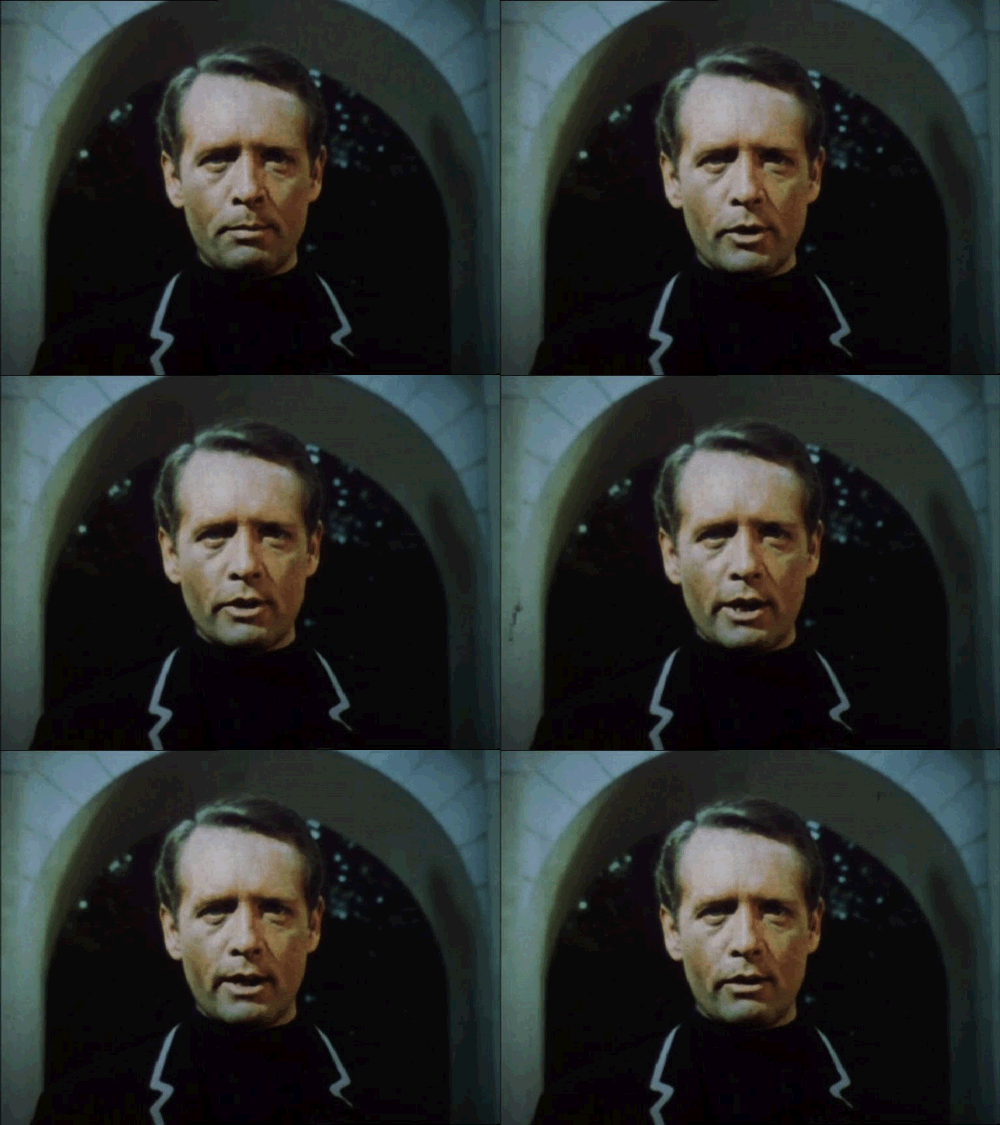
tv01