I’ve covered most of this before, but given the news that someone reads this stuff, I though I’d document it a bit more.
Prerequisites: ffmpeg, imagemagick, gifsicle, I’ve installed all of these commandline apps via Homebrew.
Cartoon Fred’s ImageMagick Scripts: CARTOON.
I downloaded this then made it executable using the terminal:
chmode +x cartoon
I then moved in into /usr/local/bin/
the proper way is probably
mv cartoon /usr/local/bin/
but I did open /usr/local/bin/ which open the folder in the finder and dragged the file across.
I ned a movie so:
Which I downloaded with YouTube downloader tool – Fastesttube!.
I copied the download into a folder and renamed it dancer.mp4
In the terminal I move into the folder by typing cd and dragging the folder int the window and pressing return.
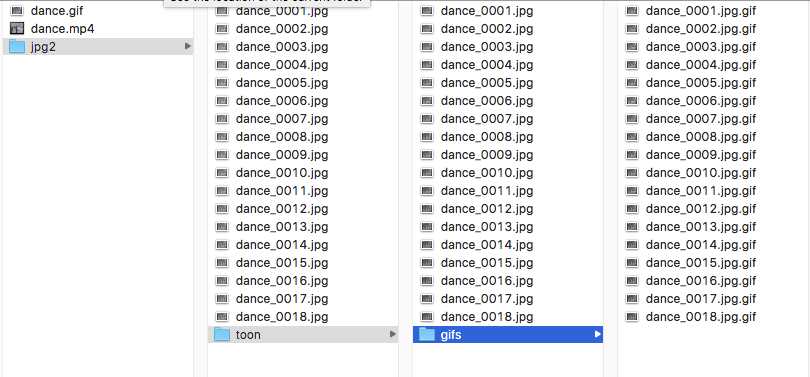
I then made a new folder mkdir jpg2
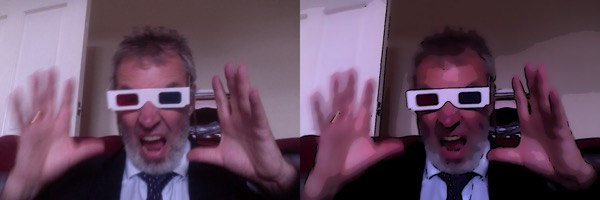
I switched to the finder and previewed the movie to find out where I want to start extracting frames, which turns out to be at 26 seconds, and I want to get 3 seconds worth at 6 frames per second:
ffmpeg -ss 00:00:26.000 -i dance.mp4 -t 00:00:03.000 -r 6 jpg2/dance_%04d.jpg
This give me 18 jpgs in a folder.
I move int othat folder and make a new one:
cd jpg2
mkdir toon
I then use cartoon to make a cartoon image for each jpg in the toon folder:
for i in *.jpg; do cartoon $i toon/$i;done
(cartoon uses imagemagick)
This takes a wee while, I then make yet another folder:
mkdir gifs
and convert all the cartoon jpgs into gifs:
for i in *.jpg; do convert $i gifs/$i.gif;done
(convert is part of imagemagick)
Finally I make a gif
gifsicle --delay 12 gifs/*.gif --loopcount -O3 --colors 16 -o ../../dance.gif
You can see the gif ends up in the top folder. There is a 12/100 of a second delay, it loops forever, is reduced to 16 colors and optimised (O3).
Along the way there are a lot of other possibilities, convert for example can adjust the brightness and contrast (and a raft of other things). I brightened these ones up a bit:
In reaction to
New blog post: "Gimme the Bat" https://t.co/DYU4Exj7Wl I'M COMING FOR YOU @johnjohnston
— Jim Groom (@jimgroom) July 14, 2016
Like the cartooning of videos a couple of posts ago there is the opportunity to see and understand a bit more about film using this technique. Jim might be thinking that (says Alan) but so far I am just having fun.
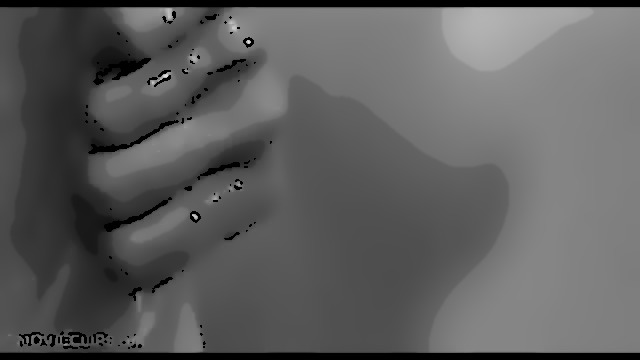

That didn’t make much difference os I did some tests with the parameters for cartoon, and Ron went with increasing the brightness:
../cartoon -b 300This gave me this: