I am really excited about this one.
Radio #EDUtalk will be at #oer16

OER16: Open Culture
19th & 20th April 2016, University of Edinburgh, UK
The 7th Open Educational Resources Conference, OER16: Open Culture, will be held on the 19th-20th April 2016 at the University of Edinburgh.

OER16 will focus on:

  •    The strategic advantage of open and creating a culture of openness.
  •    Converging and competing cultures of open knowledge, open source, open content, open practice, open data and open access.
  •    Hacking, making and sharing.
  •    The reputational challenges of openwashing.
  •    Openness and public engagement.
  •    Innovative approaches to opening up cultural heritage collections for education.

from: OER16

I am not sure what we will be broadcasting but I hope it might include conversations between various speakers and attendees.


I didn’t make it very far through this video but I got further than I though I would. There is something nice about watching the world come towards you and pass by.

I didn’t learn to drive until I was 24 and got my first car at 49 so I’ve spent a fair bit of time as a passenger. This is quite reminiscent of that. The track, like the road markings at night focus and slightly hypnotise your attention.

I am finding the recycled dailies from @livedtime a very nice thing. Often I read these in the morning but don’t follow through, it is good to get another chance. They are also the kind of exercise that can take a bit of repetition.

Last week I spent some time with a chromebook. It was the cheapest one on the Scottish procurement. I was surprised how responsive it was, quick to start up, reasonable trackpad and OK keyboard.

It seemed to be that if you were mostly using the web or if your needs were met by web browser applications that it would do quite a lot. I was reminded of Clarence Fisher talking about using a raspberry pi and finding it could meet a lot of his needs.

Personally I’ll stick to my MacBook for as long as I can afford to. I’ve got a lot of muscle memory, customisation and spent a fair bit on applications over the years. Along with the long life of Apple computers I don’t think I pay too much for what I get. I was interested in exploring how to do some things with a chromebook and the raspberry pi connection got me googling.

It seems you can connect to a raspberry pi in the same way I do from Mac and iOS devices, via ssh.

According to various sites and posts I found there is a built in terminal in the chrome browser that supports ssh.

So I hit control-alt-t to open the wheel and typed in ssh username@pi.johnj.info
At that point I got a message saying that the built in tool was no longer there and I needed to install an app. This I did.
secure she'll app

I’ve now got the secure shell app. This lets me easily connect to and work/play on the pi in the same way I already do from Mac or iOS.
top on the pi

For a dabbler like myself this is a pretty nice setup. Especially at less than £200.

I am just kicking tyres on the pi without any depth of knowledge but it already is running:

Quite a lot for such a wee box and there are tons of other things I could add given a bit of reading.

I think this points to the possibilitys of two small cheap devices adding value to each other and opening up some possibilities.

Starting by listening to the video in one window while doing something else in another with 30 odd tabs open was probably not the best start:-)

I never did get to one tab. I did pay a wee bit more attention to how many tabs I have open and why.

Some tabs are open because I’ll come back to them.

Some tabs I have open because I want to collect a bunch of links and I have a script for that.

Sometime (quite a lot) I have more than one tab open because I am copying something, like the code for the tweet above into a post.

I am logged into a service I know I’ll need later on. I am actioning the mail in one tab in another. I need to read both.

Preview!

I don’t think I’ll be giving up my tabs too soon, but I found thinking about it interesting.

Command-Shift-\ is a useful safari shortcut:


The audio on this post was recorded and uploaded with the Workflow.app on my phone. The images were too. The posts was written in drafts and posted from there with a Workflow action.

Yesterday’s post was just about using workflow.app to post to a blog in a way that other tools can do. The method might suit some people’s needs better than using the WordPress app or the browser. It could be altered and improved too. But essentially it is just another way of doing something. I think this next step is a much bigger deal.

Workflow has actions that allow you to record audio or take video. It also has an encode media action.

record-encode-screenshot

This looked promising. I have now got a workflow that will record audio, encode to MP3 and upload to my blog.

I will end up with the link to the MP3 on the clipboard ready to paste into a post.

Getting the url to the MP3 took me a while to figure out. The action returns the url to the attachment page. I had to uses a few more actions to get the content of that page and then get the url to the MP3 with a regular expression. I don’t know much about regEx and less about the flavour used by Worpflow.app. I got there in the end.

workflow-regEx

A couple of OSs ago this seemed impossible on iOS. Now you can save an MP3 created with one of the myriad of audio apps to Dropbox, iCloud, one drive ect and upload through mobile safari.

I like to think this is a bit better. It is certainly a wee bit quicker if you do not need to edit the audio.

There were always apps that would record and publish audio to the Internet. What I like about this method is it goes along with the idea of owning your own data, posting to your own domain and having a little more control.

I am now wondering if it would be worthwhile seeing if you can trigger workflows from a draft.app custom script. This post on the drafts blog: Drafts 4.1.2 – Workflow Integration | Agile Tortoise makes it look as if that would be possible. This would turn the drafts app into a WordPress editor. One could upload images and audio directly from drafts, perhaps inserting the image or audio code at the insertion point.

Posting to WordPresss is pretty simple on the go. Recent versions of WordPress have a fairly good performance on Mobile Safari. the WordPress app performs a little better the body field is less ‘jumpy’ and uploading photos a little simpler.

There are a few other blogging apps but I’ve not stuck with any.

I tend to write posts in drafts as there is even less chrome and more space to type. It also has some clever shortcuts, helps with markdown and can do cleaver stuff with text and scripts.

A while back I noticed that the new version of Workflow had actions for posting to WordPress. I made some quick tests sand it seemed to do the trick.

Today I started thinking about it again. Workflow allows you to make posts, pages and media. When I tried uploading media I was disappointed that uploading an image returns the url to the attachment webpage rather than the attachment itself.

I’ve tried to extract the url form the page but the best I have is to extract all of the urls on the page and present this as a list to choose from. This is copied to the clipboard.

image upload

So I have an workflow that is an action extension. This allow me to pick a photo then run the workflow. It is presented as a document picker in other apps, for example pixelmator. When this workflow runs it resizes the image and uploads it to my blog. It then grabs the attachment page and pulls a list of links out of that. I can pick a link to copy to the clipboard.

Making a post

The next workflow I have is one for making a post. This runs from drafts.
It first set a variable to the draft. Then it shows the photo library. When a phot is picked it uploads the photo to the blog. As in the first script it downloads the attachment page, extracts the urls and let’s me pick one. This time the one picked is put in another variable.

The workflow then get the first variable, and posts it to the blog as a draft. It asks for a title and used the url to the uploaded image as the posts featured image.

It also asks for tags when it runs.

The featured image for this post is a couple of screenshots taken on my phone. They were stitched together with workflow and the result edited a bit in snapseed.

I’ve had a lot interesting audio interactions this week.

A couple of weeks ago I mention Anchor and I’ve continued to play with that. Simon Thomson (@digisim) invited me to participate in a storytelling idea, folk just take turns to record the next short segment. It is only Simon and me at the moment but I am sure he would be happy to hear from others:

On Wednesday evening Joe Dale was my guest on Edutalk. Joe discussed iOS audio apps. He also provided a marvellous set of links for the show notes: Radio Edutalk 17-02-2016 Joe Dale iOS Audio Apps.

Joe also tweeted a link to Tabletop Audio – Ambiences and Music for Tabletop Role Playing Games which has a collection of 90 atmospheric sounds that you can play or download. Each is 10 minutes long. You can play the audio live or download it to your computer.

The sounds are available under a Creative Commons — Attribution-NonCommercial-NoDerivatives 4.0 International — CC BY-NC-ND 4.0 license. The sounds could also be used to provide atmosphere in the classroom, perhaps during a writing task.

Back on the anchor beat I tried a few times to record a trafficjam anchor, I’ve not quite managed to make them loud enough yet or avoid running over but I did post this weeks review after I parked.

There are a lot of nice things about Anchor and it will be interesting to see where it goes. I think it is going to be one of those apps where you need pals on the same platform, at the moment the twitter search brings back very few folk for me. Hopefully this will grow, the anchor folk are intending to add an android app into the mix.

Taste Meditation #tds232 The Daily StillnessWednesday’s task was pretty simple. Or so I though. I read it at breakfast where I didn’t really feel ready to close my eyes. I should have done so as it is the only meal I usually eat alone.

The next time I though about it was looking at my clean plate at the end of dinner. So much for my intention to attention.

Yesterday evening, Friday. I spend a good bit more attention on cooking.

I don’t close my eyes. I do notice the taste to the food, the texture in my mouth, the way flavours mixed, how the wine tasted, the light in the kitchen, the colours of the food, wine, bottle. I listened and watched myself listening and watching my wife.

Number 4 in the list was easy. It does not get better than this.

I’ve been following the work of Dave Winer for a while now. His pioneering work with RSS, blogging and podcasting is central to my use of the web. I’ve even dipped my toes into and blogged about Fargo his outliner tool a few times, I tried myword.io a couple too.

The product I am most interested in was the Rivers project. This is a take on RSS readers, where you view collections of RSS in a stream, rather than a folder structure.

In the past I set up River3 and River4. These products really need a server that goes a bit further than web hosting. I had some working locally but this was not ideal. The instructions for using the previous version of River tended to involve Amazon Web Services and a server elsewhere.

River5

River5 changes all of this, it is designed to keep everything in the same place, one server. The only difficulty is that it requires a server running node.

This is pretty simple to set up locally on a mac. You need to use the terminal. You install node. Then you follow the instructions on the River5 github page and you are away.

What is very nice indeed is that you can add feeds you want to read in several different formats opml (handy for export from other RSS readers), json and plain text. There is a set of example feeds provided that will let you see everything is working.

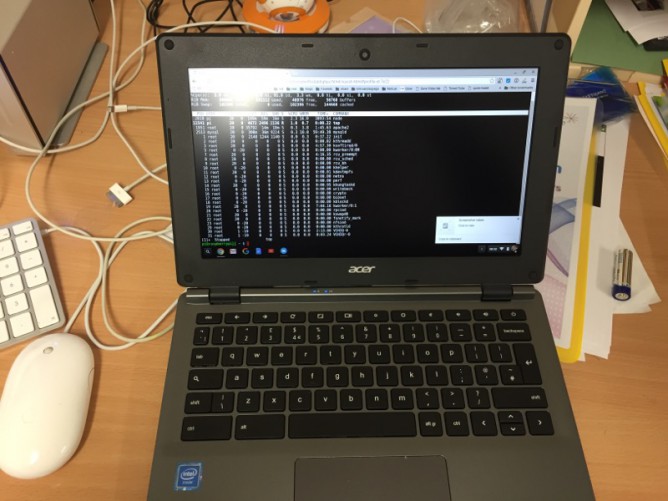
I wanted to be able to have the rivers running all the time and be accessible from other computers. For that I need a server that I could install and run node on. Turns out I have one, john’s pi server. That sits on my window sill mostly taking pictures of the sky. It was running a twitter bot but that is broken at the moment.

Setting up River5 on a Raspberry Pi

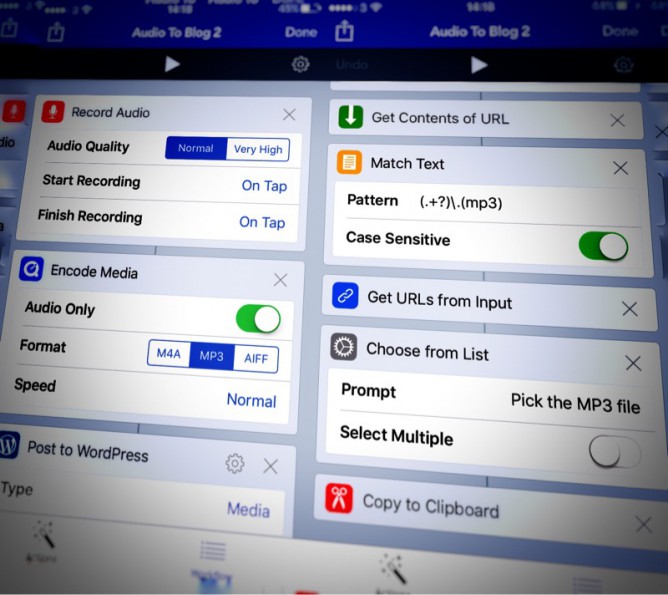
I do most things on my pi via the terminal on a mac or iPad, suing ssh to logon.

I had installed node on the pi a while back.

Download the latest:
wget http://node-arm.herokuapp.com/node_latest_armhf.deb

then install:

sudo dpkg -i node_latest_armhf.deb

I seem to have done that a while back when I was failing to get something else up and running.

All I need to do to get River5 installed was to download the files from github and upload them to the pi with scp.
I then unzipped them went into the folder and ran these two commands:

npm install

node river5.js

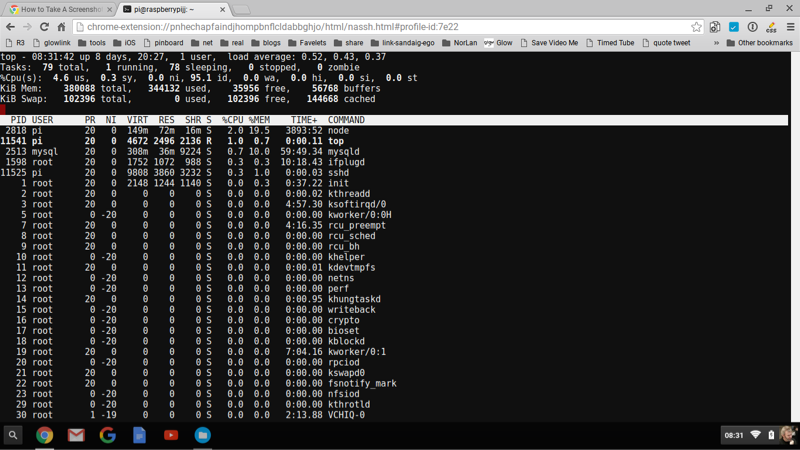
This set everything up, a plie of stuff streams by in the terminal and all looked ok. (I had problems the first time I tried but an update came out immediately that fixed things for Linux servers. I got a very quick response on the River5 Forum).

My Pi already has a sub domain so I visited http://pi.johnj.info:1337 and could see the rivers flowing with Dave’s Feeds.

I’ve now removed the original ones and replace them with lists of feeds of my own.

Rivers Forever

After that I went to bed, next morning I tried the link and it was down. The problem is I need to keep the application up and running even when I am not logged onto the server. I recalled reading on Dave’s blog about Forever. As usual google found the instructions to install and use: Keep a node.js server up with Forever.

This is pretty simple you install Forever with:

sudo npm install forever

npm is a package manager for JavaScript so it installs stuff.

After it is installed we can start up the river5 with:
forever start river5.js and it keeps going.

Mine has been running for a few days now on the pi without any problems.I’ve been enjoying an alternative view of some of my RSS feeds. My next steps are probably to move things around a bit so that I don’t relay on the built in node server, and can pull the river json over to here.

I am pretty amazed by the ease of doing this. The software has been made to be very easy to install and the Raspberry Pi turns out to be a very capable wee box.

Since I changed themes here I’ve been using featured images a lot more on posts. 1

There are a couple of things that bother me about WordPress featured images, the fact they do not show up in an RSS feed and that any attribution needs to go in the body of the post.

This morning I read Transforming Photo Attribution from Credit to Stories on Alan’s blog, which mentioned these problems while discussion a much more important one.

I though I’d see if it was easy enough to find a fix and headed to google.

First I found a few plugins but also some DIY advice. I decided that these looks simple enough for me.

Featured Images in RSS

How to Show Featured Image in WordPress RSS Feed shows how to do just that. You need to edit the functions.php file in your blogs theme 2.

All I needed to do was copy the code suggested from that site and add it to the bottom of my functions.php file which I already had in my child theme. The post shows how to edit this file via the WordPress dashboard. I do this with my ftp application.

A quick look at my feed in Forefox (Safari dos not show RSS any more 🙁 )
http://johnjohnston.info/blog/feed/ or http://feeds.feedburner.com/johnjohnston
Looks good.

Captions for featured images

Again there are plugins for this, but I found:
How to add caption to the featured images in WordPress which had done the trick.

This uses the built in caption from the media library. To do this I needed to copy the content-single.php file from the theme to my child themes folder. I then edited that one.

My theme’s code was slightly different to the example but it was easy enough to figure out where the code for the featured image/thumbnail was and add:

<?php if ( $caption = get_post( get_post_thumbnail_id() )->post_excerpt ) : ?>
    <p class="featuredcaption"><?php echo $caption; ?></p>
<?php endif; ?>

After it. I also added a bit of css to the child themes styles.css file to align the text right. I’ll think about how to make that better looking….

What I particularly like is that this approach uses the built in WordPress caption for the image. When I started thinking about it I was thinking about adding a custom field and complexity. I keep finding that WordPress is already half way to do what I want, if only I knew where to look. Until I do google will keep me right.

  1. I choose the theme because it supports indyweb features I wanted to test. I’ve still not got my head round many of them.
  2.  This just works if you can edit your theme, so you would need a self hosted blog. I use a child theme here which should avoid changes being overwritten if the them is updated.Child Themes « WordPress Codex covers the details