
Hi Aaron,
This is a useful guide. I remember Oliver Quinlan, a guest on Radio EDUtalk talking about the eloquence of the command line compared to pointing and grunting.
I enjoy using the command line, often with Raspberry PIs, but it is easy to miss some of the basics which this guide covers well.
Tag: commandline
Eloquent instructions
‘Points & grunt’ or ‘eloquently instruct’
A couple of weeks ago Oliver Quinlan was a guest on Radio EDUtalk. The thing that stuck in my mind the most from the episode was this idea. Oliver has now written a bit more about it on his blog.
The command prompt allows you to use the power of language to interact with a computer. In comparison, clicking around in a desktop environment is akin to pointing and grunting. Getting people to do things by pointing and grunting is OK at first, but as children we naturally put in the effort to learn how to move beyond this to get things done quicker, more precisely and more elegantly.
‘Points & grunt’ or ‘eloquently instruct’ – Language & computers – Oliver Quinlan
I’ve often struggled to explain, even to myself, why I enjoy using the terminal application. This is the best elevator pitch I’ve heard.
I am no command line expert, but I end up using it for small things or interesting experiments most days. I guess my first exposure was on the introduction of Mac OS X in 2001. Af first it was something to use occasionally for system settings that could not be done in other ways. Slowly over the last 15 (eek!) years I’ve used it a bit more and slowly learned. It is not something you need to be an expert to get use from. For example Batch Processing MP3 files is probably not eloquent but it saved me a huge amount of time.
For most of the time I’ve been using the terminal I though of it as a somewhat old fashioned process. It is now fairly obvious that it will be in use for some time yet. This week the news that Microsoft is bringing the Bash shell to Windows 10 brought that home.
It is worth mentioning that there is an amazing amount of information on using the command line on the web. I can’t remember when a search has failed to help me learn.
Elsewhere Oliver recommended Conquer the Command Line as a good resource to getting started. From the MagPi Magazine available as a free PDF.
Featured image: my own, grabbed with LICEcap.
iOS Icon Extraction
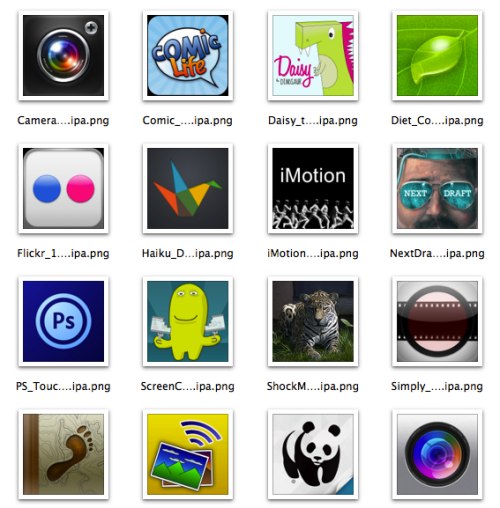
The other day a colleague and I were trying to remember how to get the icon art for iOS apps to help write notes. We though we remembered a way to get them out from examining the package. Later I was reading the ADE list, where there was a bit of bemoaning that you can no longer copy the art from iTunes. Someone mentioned that the art was now is a file iTunesArtwork inside the .ipa files in the iTunes folder, the .ipa file being zip files.
![]()
This means you can get the art work by, changing the extension on an ios app file to .zip, expanding the archive, adding a .png extension to the iTunesArtwork file. You end up with the artwork png file.
Automating
This seems like a fairly long road for a short cut. A wee bit of though lead me to try a few shell scripts. Basically you can use the unzip command to extract the iTunesArtwork file with a png extension and you get a png file of the artwork.
To make this a little easier I wrapped up the shell script in an AppleScript. Drag a bunch of .ipa files onto the droplet and it will create a folder on your desktop and extract the art work as png files. Double click the droplet and it will prompt you for a file and do the same. The files are named the same as the .ipa files except I replace all non alphanumerical characters with an underscore. I’ve put the script in my dropbox in case anyone would find it useful, and uploaded the text so you can View the Script.
BTW: Rounded Corners
So the artwork extracted does not have the rounded corners:

You can change the way that looks on the web with a bit of css:
style="-moz-border-radius: 20%;-webkit-border-radius: 20%;border-radius: 20%;"
This might help other folk documenting iOS stuff. I’ve now got a folder of >600 icons ready to go.
iPad Unzipping
As i was browsing my feeds this morning I read a post on the register that was over my head, AWS’ gift to sysadmins: a cloudy command line • The Register at the end of the article I notice a link to In the Beginning was the Command Line by Neal Stephenson. I’d read this a few years ago but thought I’d like another look so followed the link only to find:
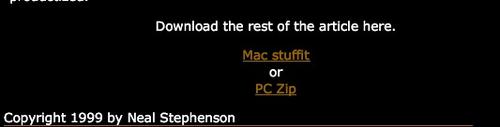 The article, a plain text file was zipped. I am using an iPad, I didn’t want to read it enough to move to a computer so this is what I did.
- copy the url
switch to iCab Mobile and open the page.- Click the link and download.
- open the download in iFiles: .1.
- unzip in iFiles (I like the wee unzip icon):

- and read.
In the Beginning was the Command Line is an interesting read although it was written in 1999, an update/responce by Garrett Birke The Command Line In 2004 is good too, I guess another update in light of mobile computing would further explore Mr. Birke’s final question:
So I bought a Powerbook with OS X on it. And while an excellent solution, this is certainly not the only solution. A Windows 2000 setup on a Dell Inspiron laptop would be a fine second choice. And though there are many out there who have developed a comfortable Linux system for themselves, I believe that we should all be judged by the truest measure of the value of any personal computer: How much does it help us accomplish our tasks?
This post was written on an iPad in Texttastic, using a bookmarklet to grab links from Safari, native iOS screengrabbing, images cropped in the Photos app, resize and uploade with Pythonista. The post will be saved to dropbox when it syncs with my mac it will be posted to the blog via AppleScript. Most of this stuff helps get things done but some is just fun;)
1Well it seems that I was quite mistaken about the need for iCab. not that it is not a useful app. I switched to it when assumed that I could not open zip or sit files in Safari. I should have clicked the link:
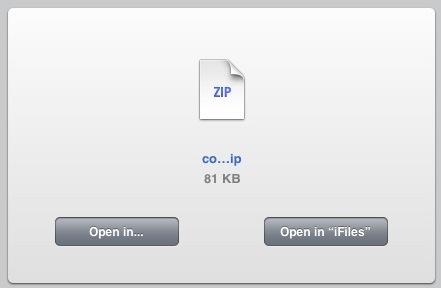
That would have saved a step.
OCR via dropbox with Tesseract
This is going to be another slightly geeky post. The previous one, Testing a new system, was about a way to blog using dropbox and AppleScript folder actions had me thinking about other things that could be done using this sort of system. The way I am doing this relays on having dropbox and a mac that is on when you want it. If you don’t have a mac you might like Wappwolf which is a web service that can do a lot of things with files in your dropbox automatically.
So I already have a system for blogging by dropping files into a folder on my dropbox and was looking around for another idea to play with. There seems to be a few OCR apps for iPhones but I had noticed that Tesseract was available on Google Code and googled around to see how it could be installed and run on a mac. One I found was TesseractOCR Mac a Cocoa Front end to the Tesseract OCR program. I downloaded this and gave it a try. It worked well on my desktop. I then struck gold: Installing and using Tesseract 2.04 on Mac OS X 10.6.6 with Homebrew | Ramble On. This post explains clearly how to install Tesseract on a mac so that it can be used on the command line. It is also a good intro to homebrew.
Homebrew
Homebrew is the easiest and most flexible way to install the UNIX tools Apple didn’t include with OS X.
For someone who has struggled with this sort of thing before, homebrew is pretty straightforward. Installing homebrew is just a case of copying a line of code from the installation page, pasting it into the terminal and pressing return.
imagemagick
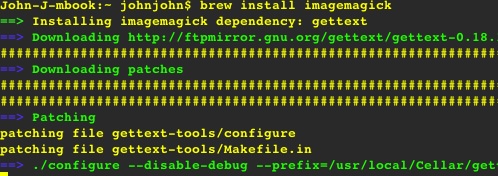
Following the instructions from Ramble On I just typed brew install imagemagick in the terminal and hit return. Lots of scary text scrolls by:
installing Tesseract
Once imagemagick was installed I repeated the process for Tesseract.
Testing Tesseract
As I was wanting to figure out how to use my phoe for OCR I took a photo of a bit of newspaper, I used Camera+, the clarity filter, cropped and made the image Black and White:
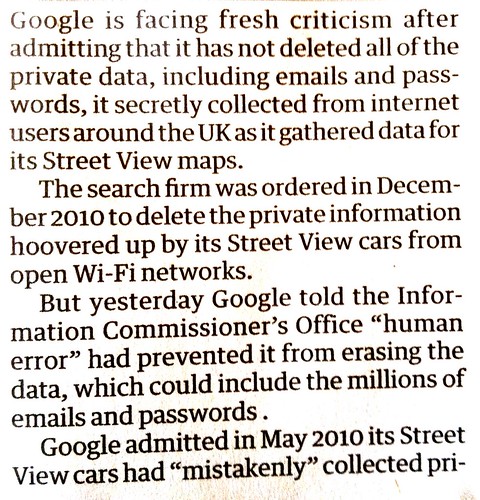
Click the image to see fullsized on flickr
I used Wifi Photo Transfer to grab the photo from my camera and put it on the desktop.
The OCR process is in two steps using the terminal and the newly installed applications:
- Convert to 200dpi tiff:
cd Desktop
convert -density 200 -units PixelsPerInch -type Grayscale +compress fr_160.jpg fr_160.tif - Preform OCR on the tif
tesseract fr_160.tif fr_160 -1 eng
I now have two extra files on my desktop, fr_160.tif and fr_160.txt, the txt file contains the OCR text:
(_;oogle is facing fresh criticism after
admitting that it has not deleted all of the
private data, including emails and pass-
words, it secretly collected from internet
users around the UK as it gathered data for
its Street View maps.
The search firm was ordered in Decem-
ber 2010 to delete the private information
hoovered up by its Street View cars from
open Wi-Fi networks. r
But yesterday Google told the Infor-
mation Commissioner’s Office “human
error” had prevented it from erasing the
data, which could include the millions of
emails and passwords .
Google admitted in May 2010 its Street
View cars had “mistakenly” collected pri-
Which is pretty good.
OCR for dropbox
I now can see that tesseract works well and needed to make it work on images added to a particular dropbox folder.
There are a few folder action scripts that come with a mac, there are in /Library/Scripts/Folder Action Scripts/ several of these deal with images files ad contain routines for handling the dropping of files. These ‘standard’ routines move added files of the correct file type to a subfolder and then pass them on to a sub-routine that deals with the files. I could just duplicated one of these and edit the process_item sub routine. Basically I just scripted the process tested above. I’ve uploaded the script ocr folder action as html, incase anyone will find it useful or fun.
To use the script you put it in the Folder Action Scripts (copy the text of the html file paste it in the appleScript script editor.). Add a folder to dropbox and attached the script to that (right click on the folder and choose Folder Actions Setup…).
Most of my bit of the script just uses do shell script to run the scripts above, the only gotcha was that although I can use convert in the terminal, in a script I have to use the full path to the script:
set ocrscript to
"/usr/local/Cellar/tesseract/3.01/bin/tesseract '" & tif_file & "' '" & tif_file & "' -1 eng"
do shell script ocrscript
This is to do with the way homebrew installs applications and the fact AppleScript doesn’t access commands from /usr/local/….
My script is fairly crude, especially about file endings, if I add :Photo 28-07-2012 12 35 55.jpg to the dropbox folder, it is moved into the processed files folder and Photo 28-07-2012 12 35 55.jpg.tif and Photo 28-07-2012 12 35 55.jpg.tif.txt are created. Not elegant.
The whole process from taking a photo to opening the txt file in dropbox only takes a couple of minutes when using 3G. The system will not deal with columns or more than a single block of text but it does that fairly well. Mostly it was fun to figure out how to do.